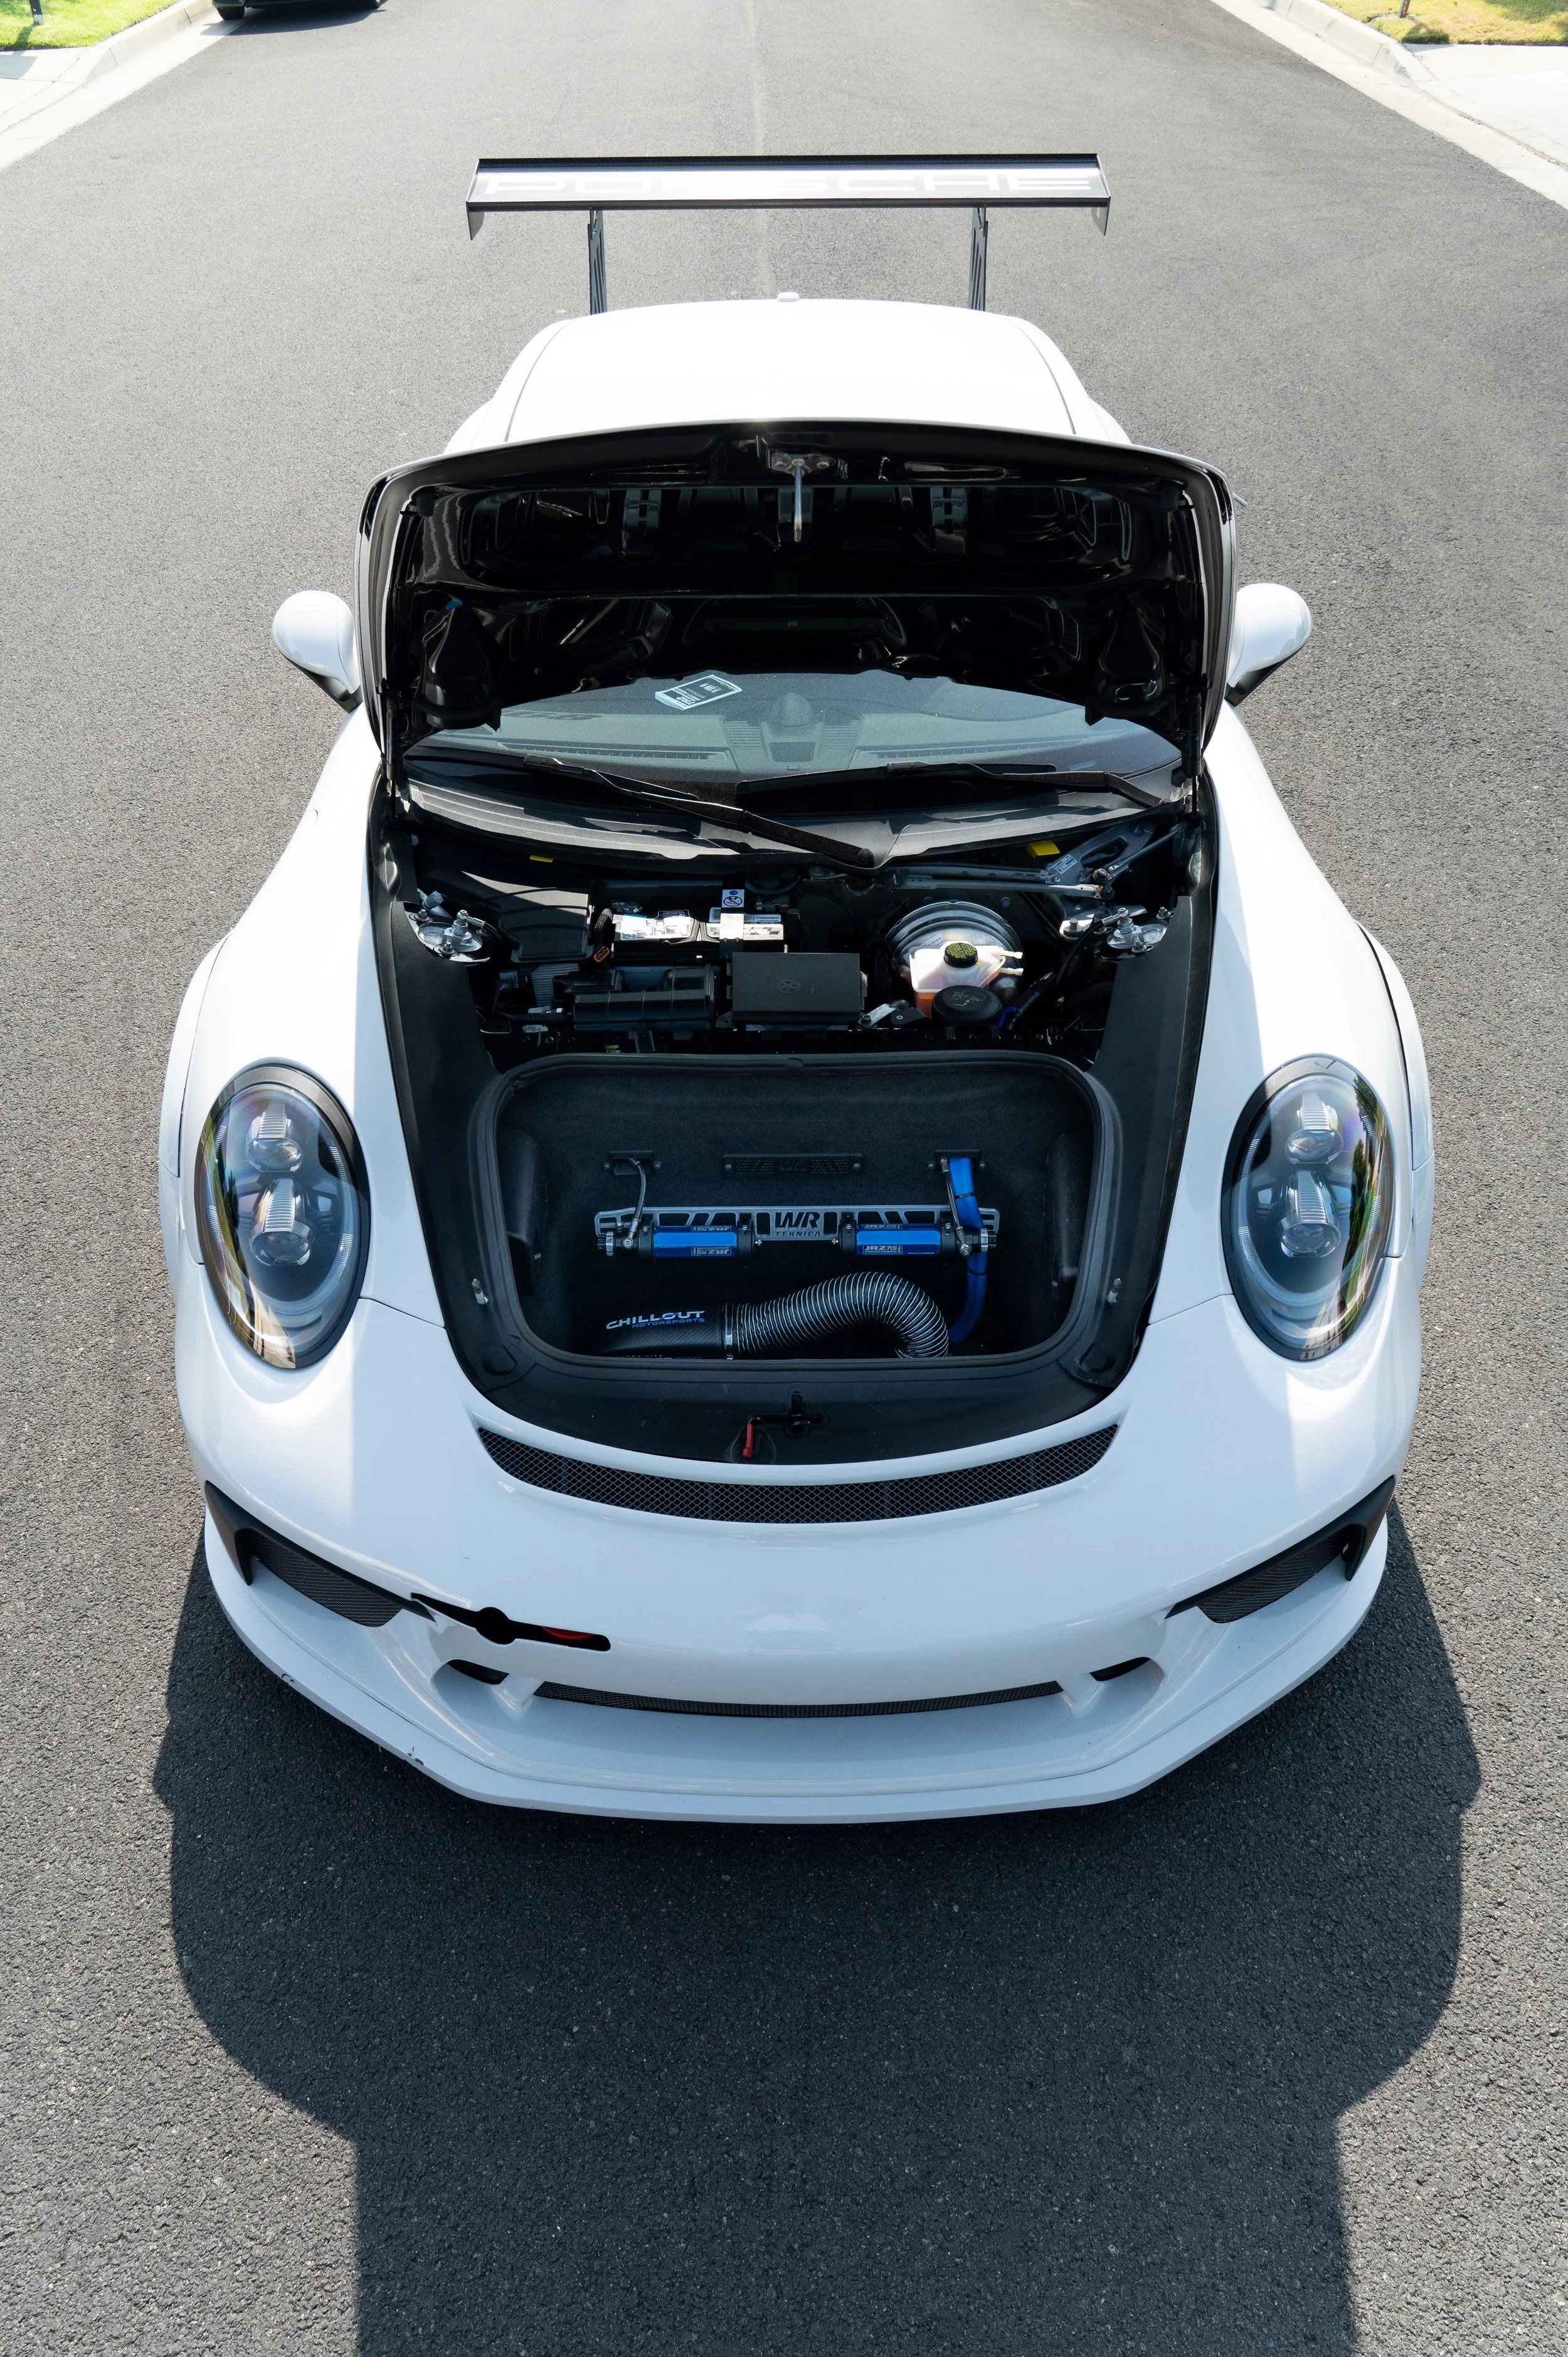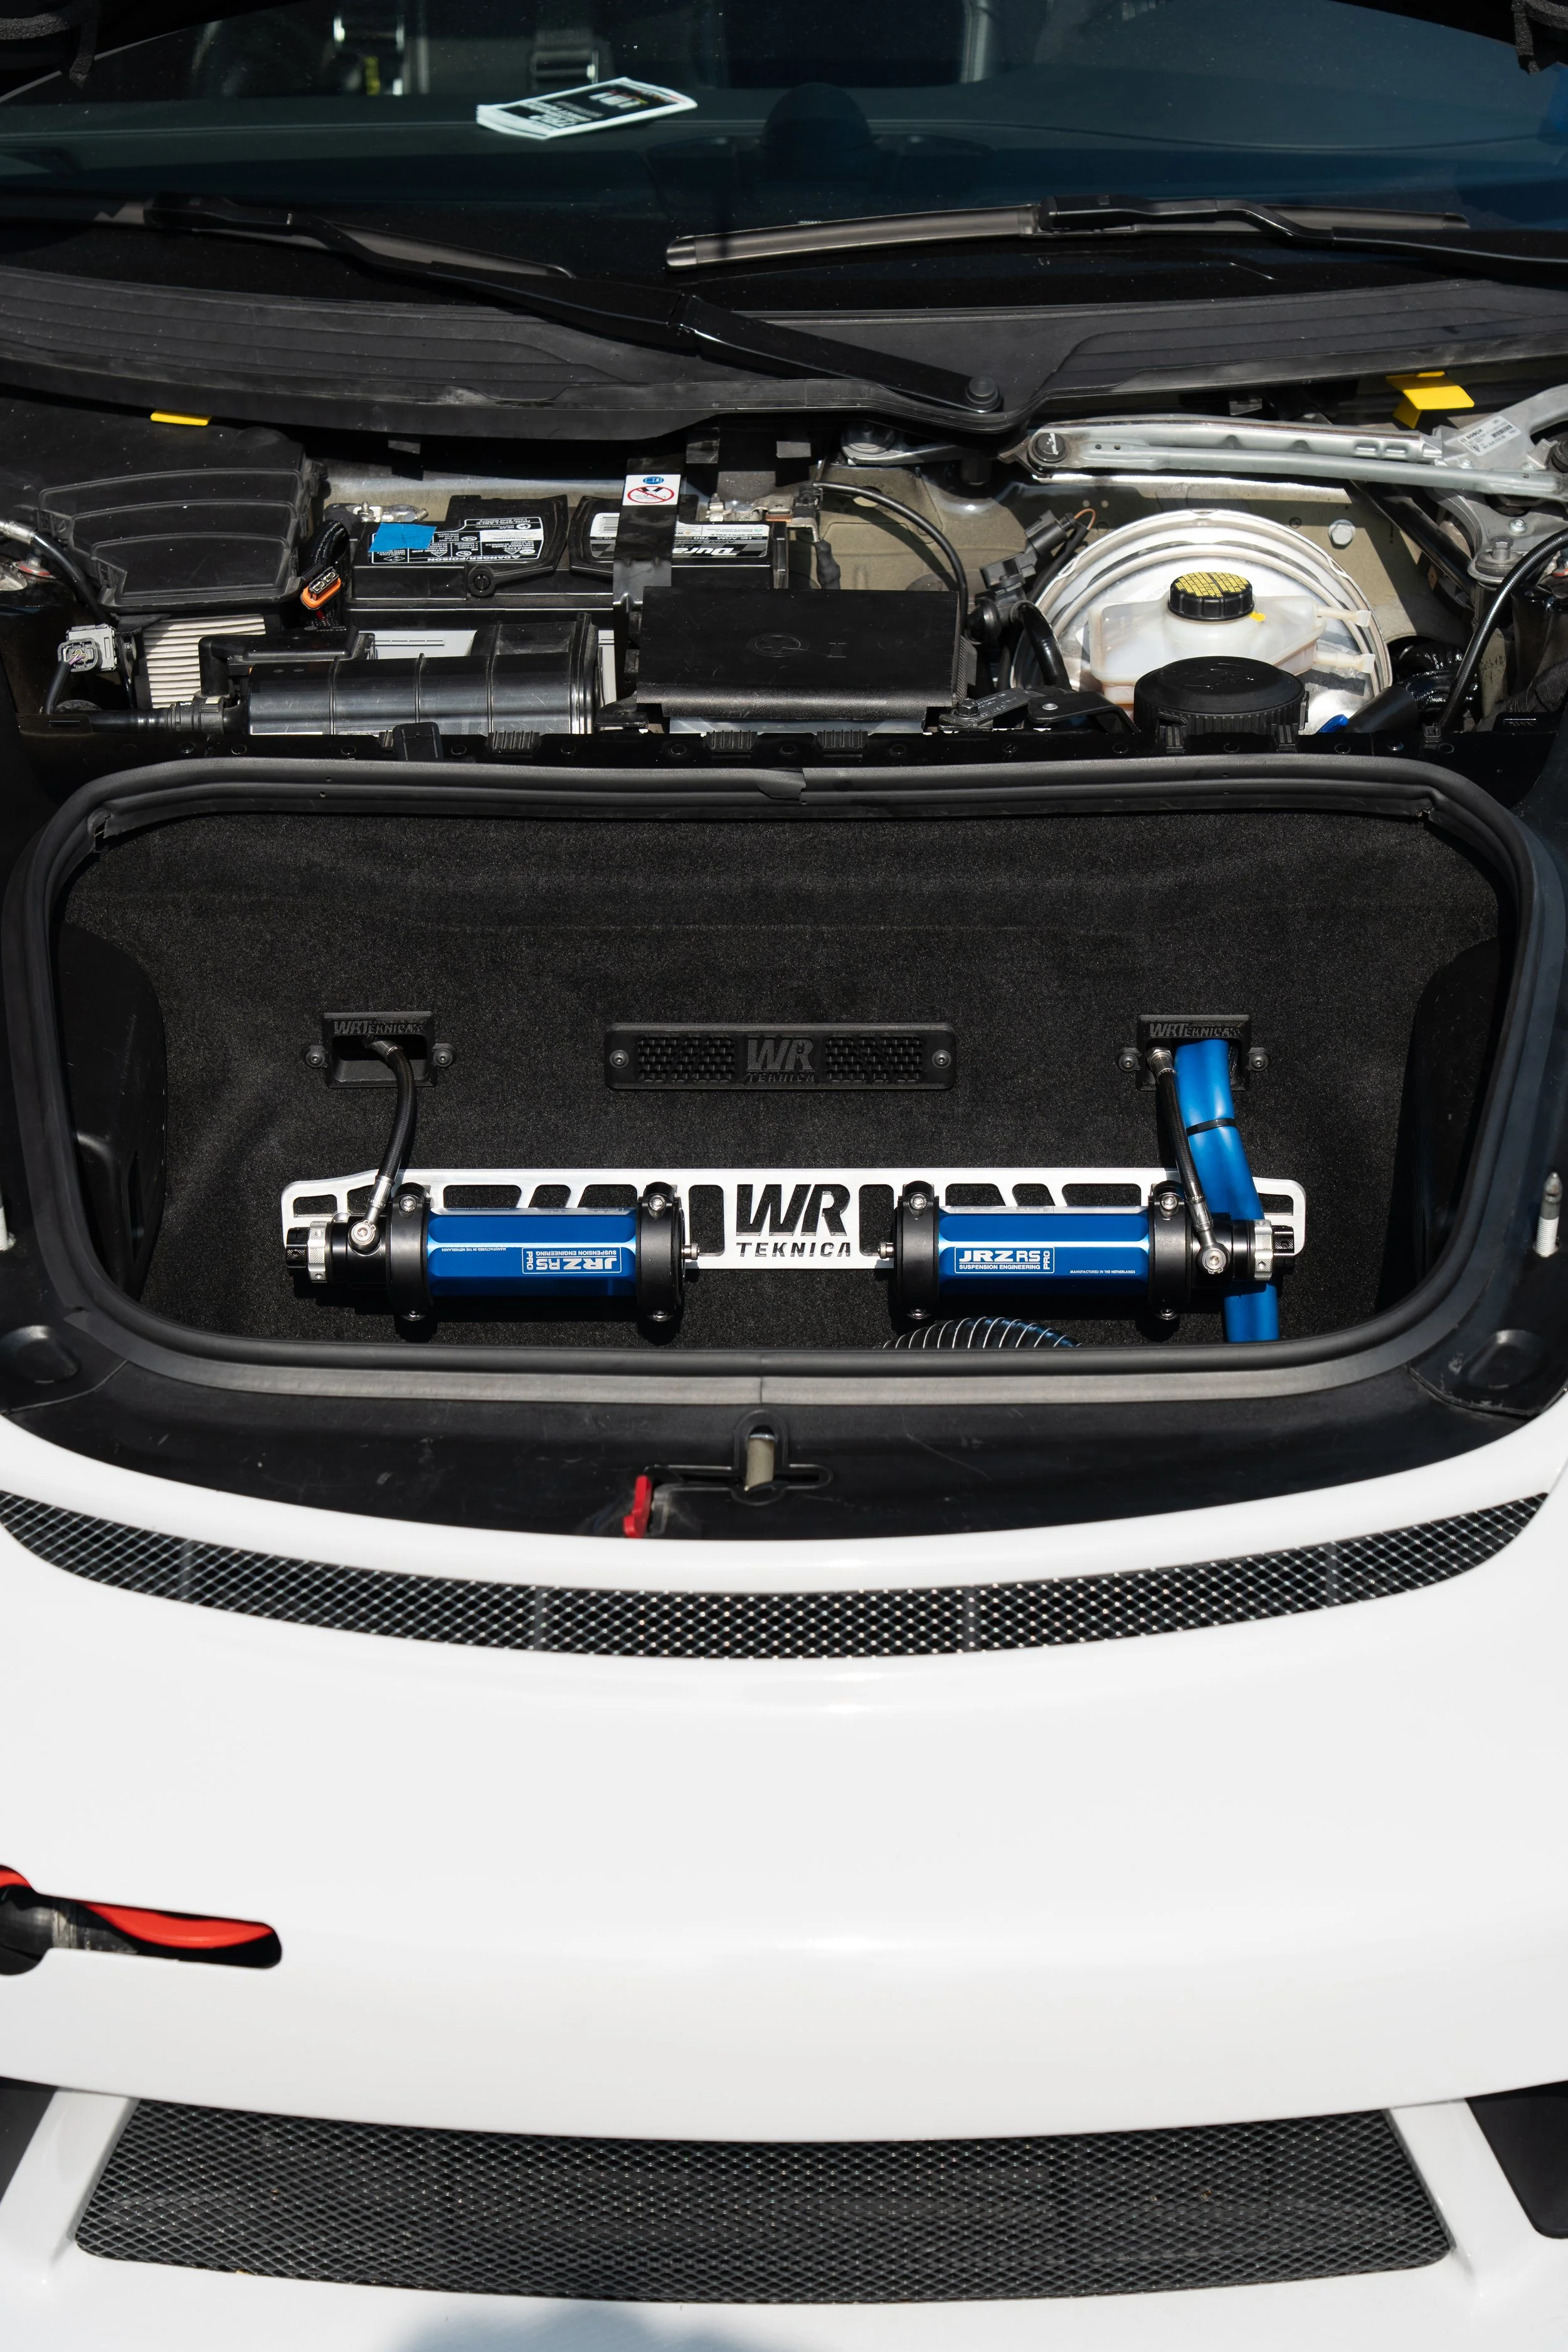
Chillout System for 991 GT3 Cup Conversion
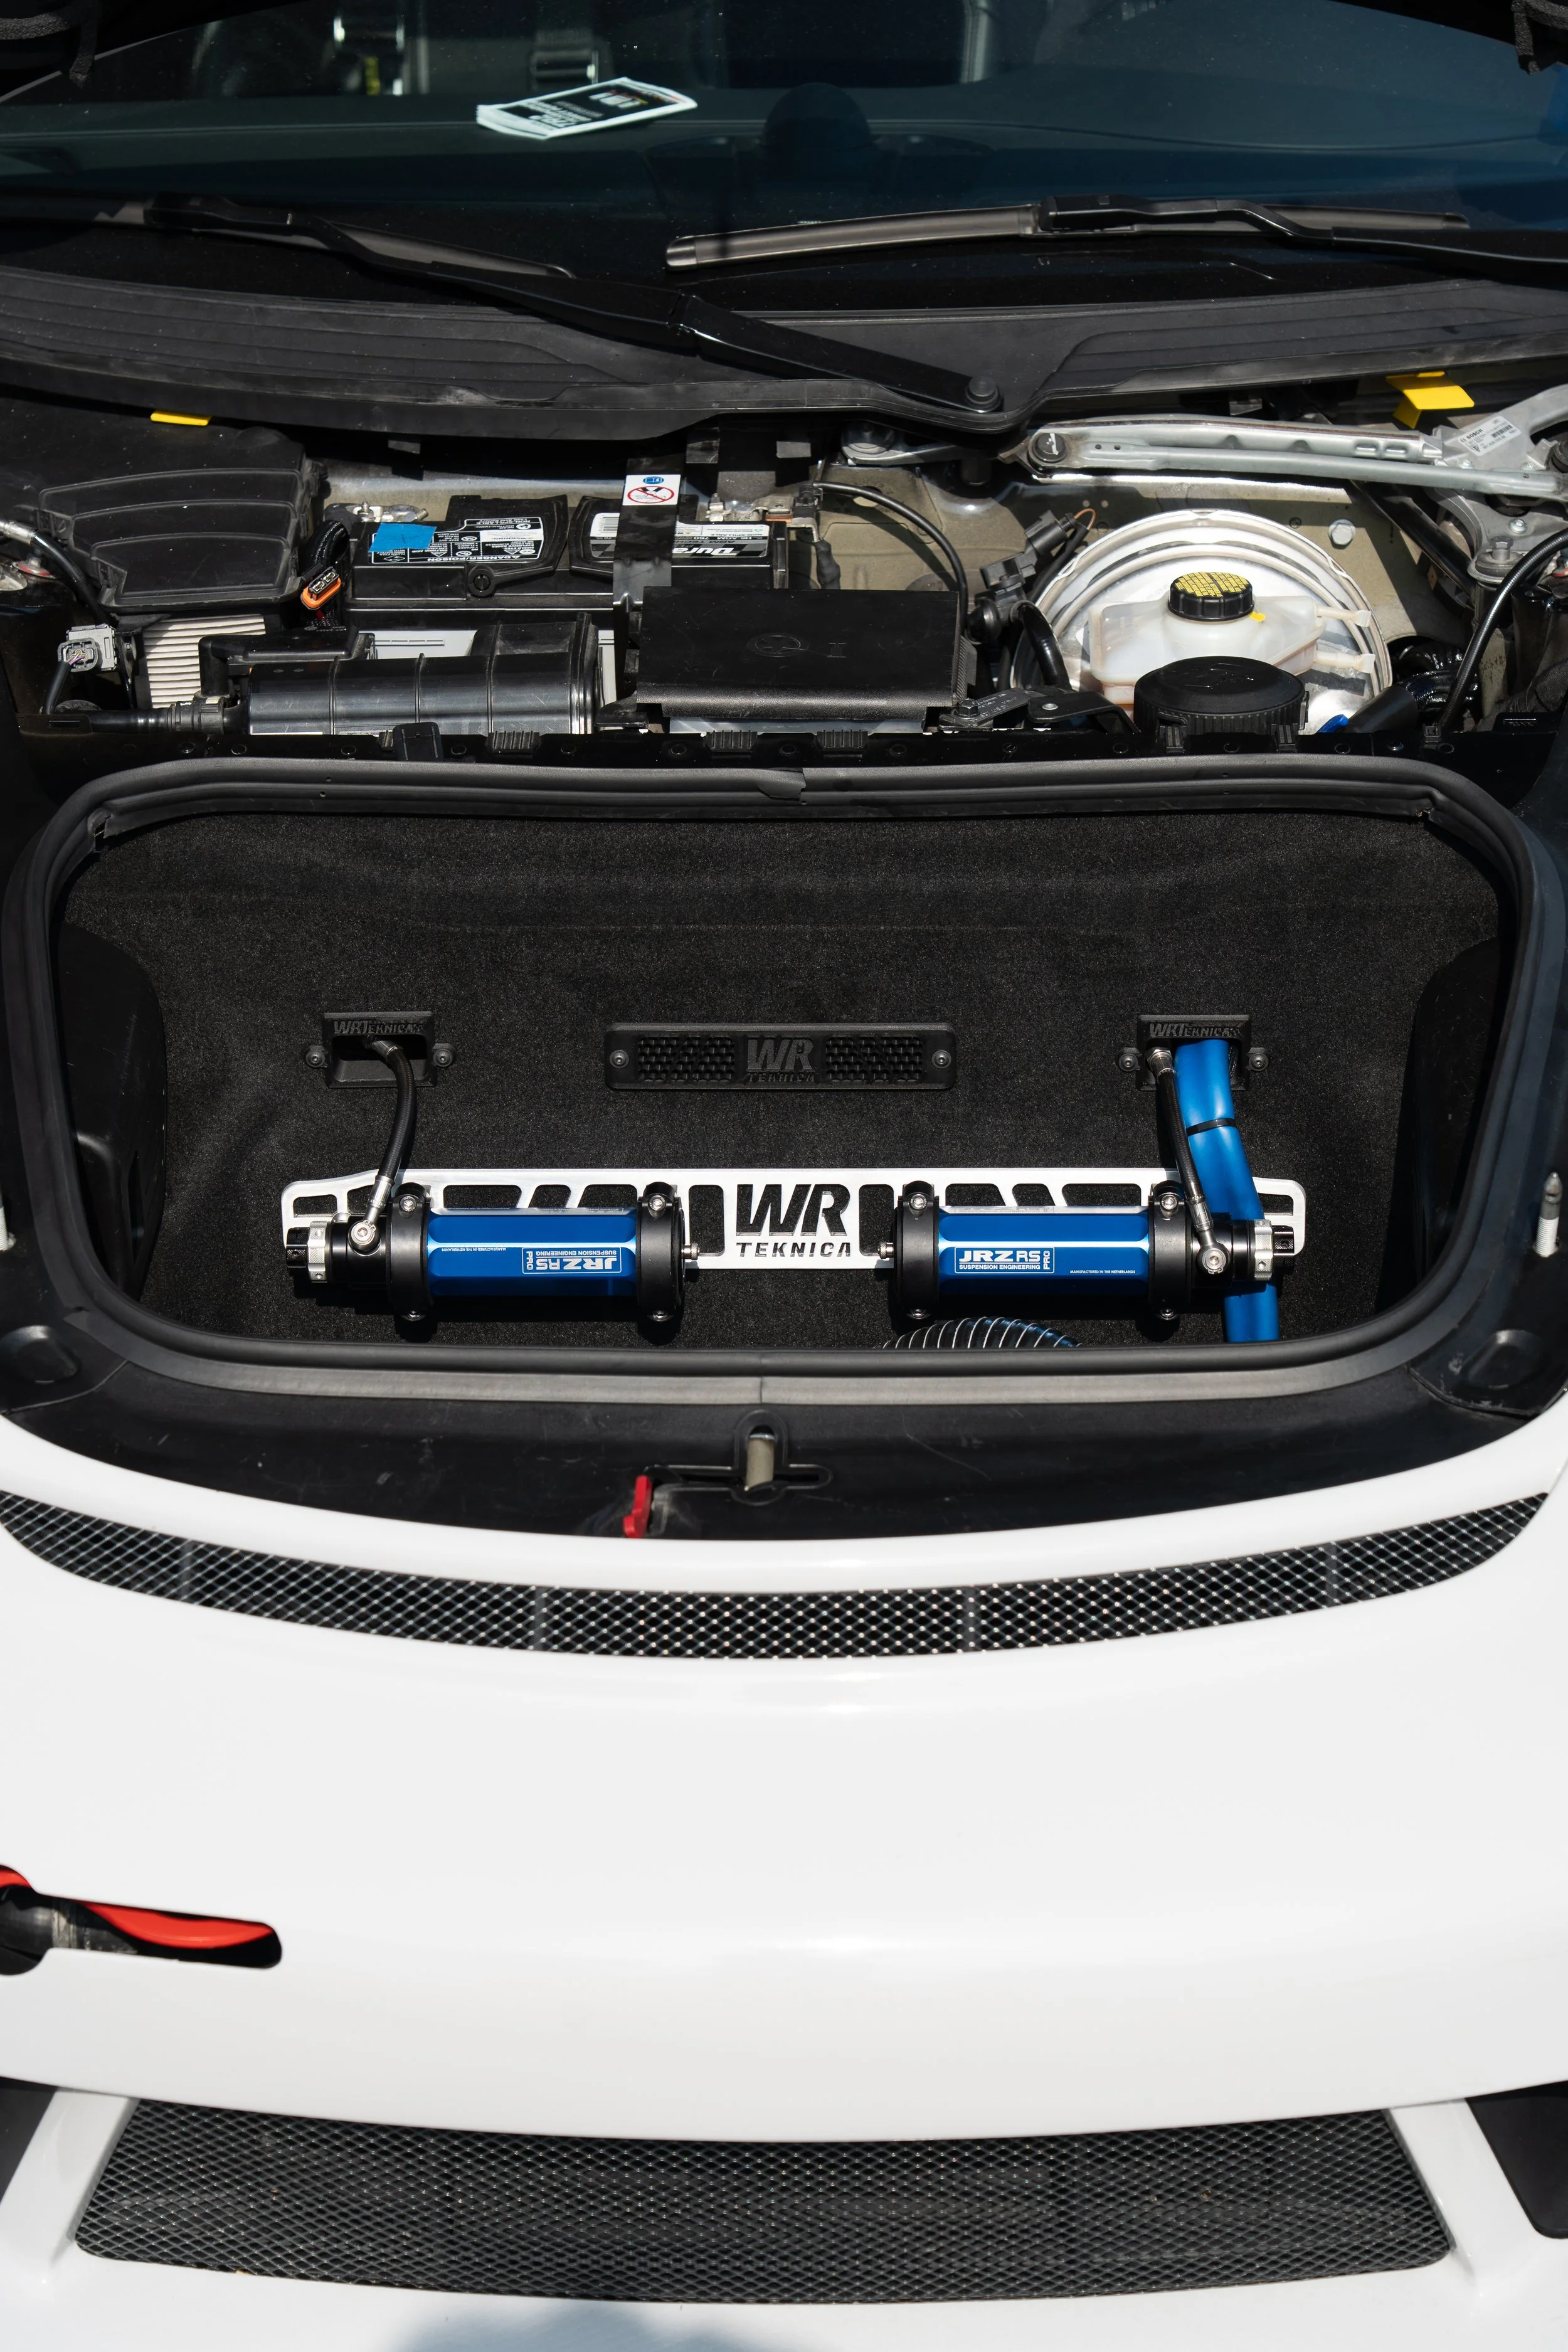
This project was one of the largest I have done at WRTeknica. We were tasked with integrating an air intake through the floor of the frunk, which was somehow meant to feed a chillout system connecting to the driver’s suit, in the cabin. I will take you through the engineering process of accomplishing this:
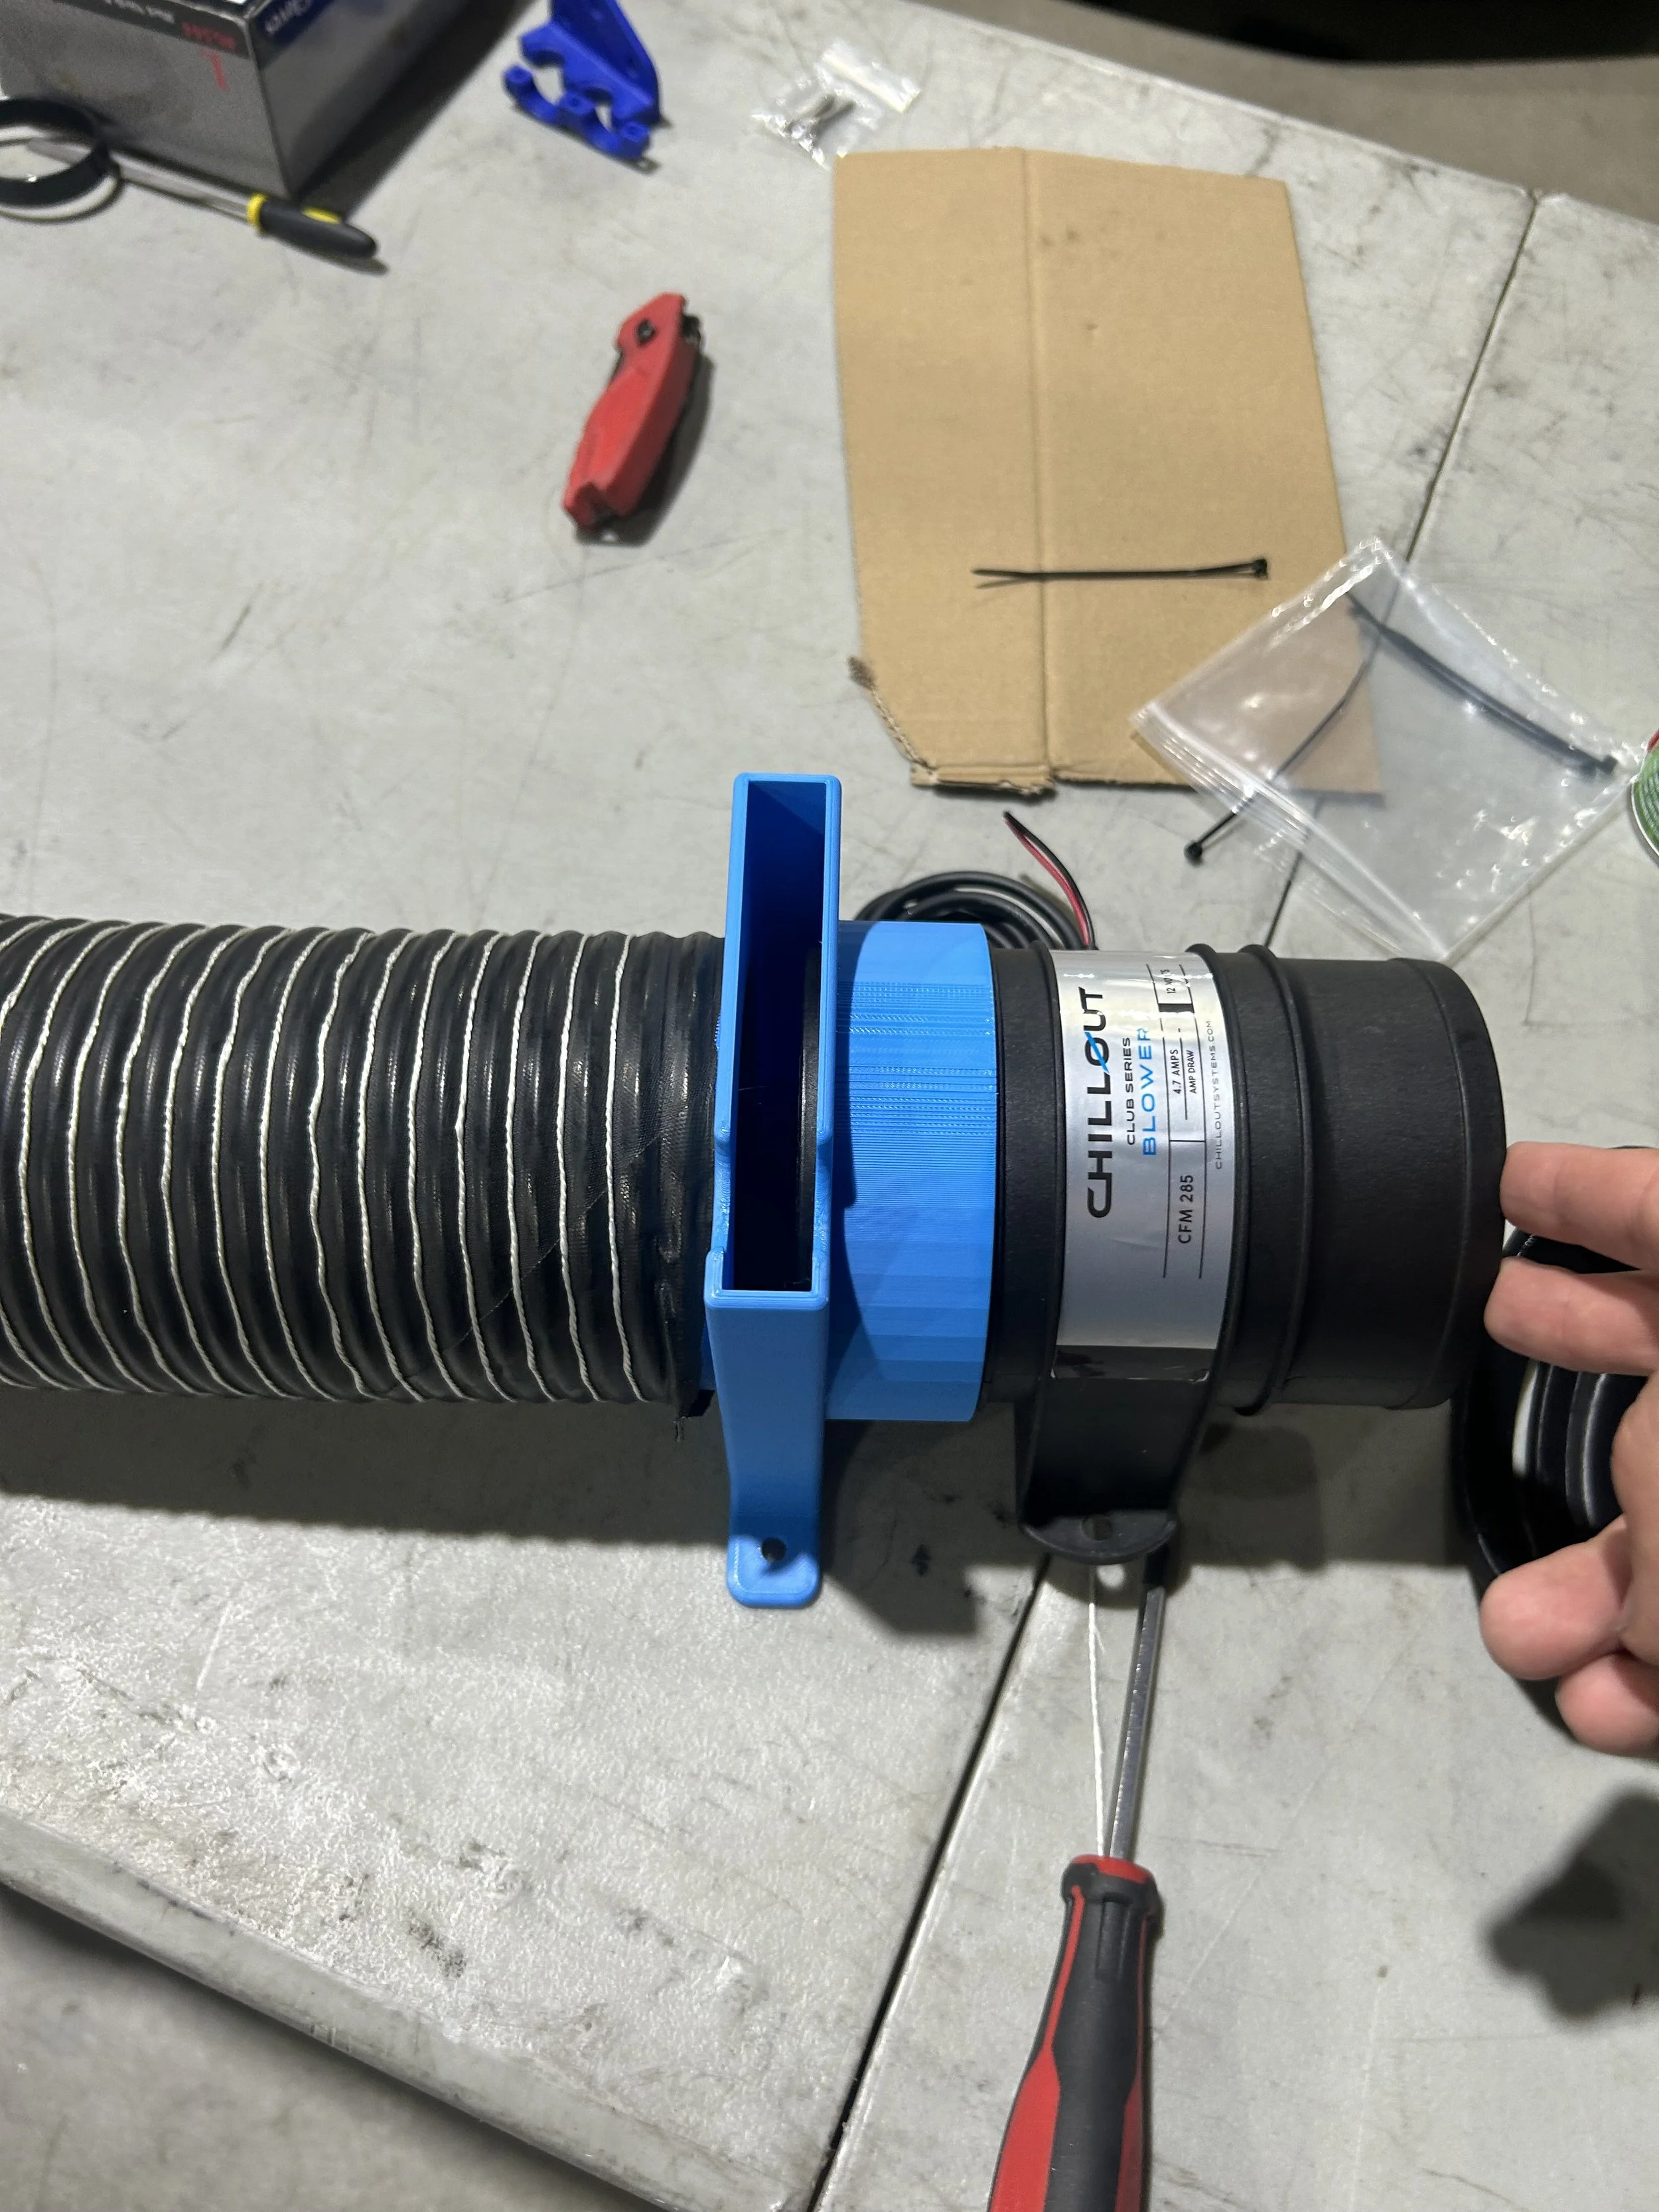
Prototyping
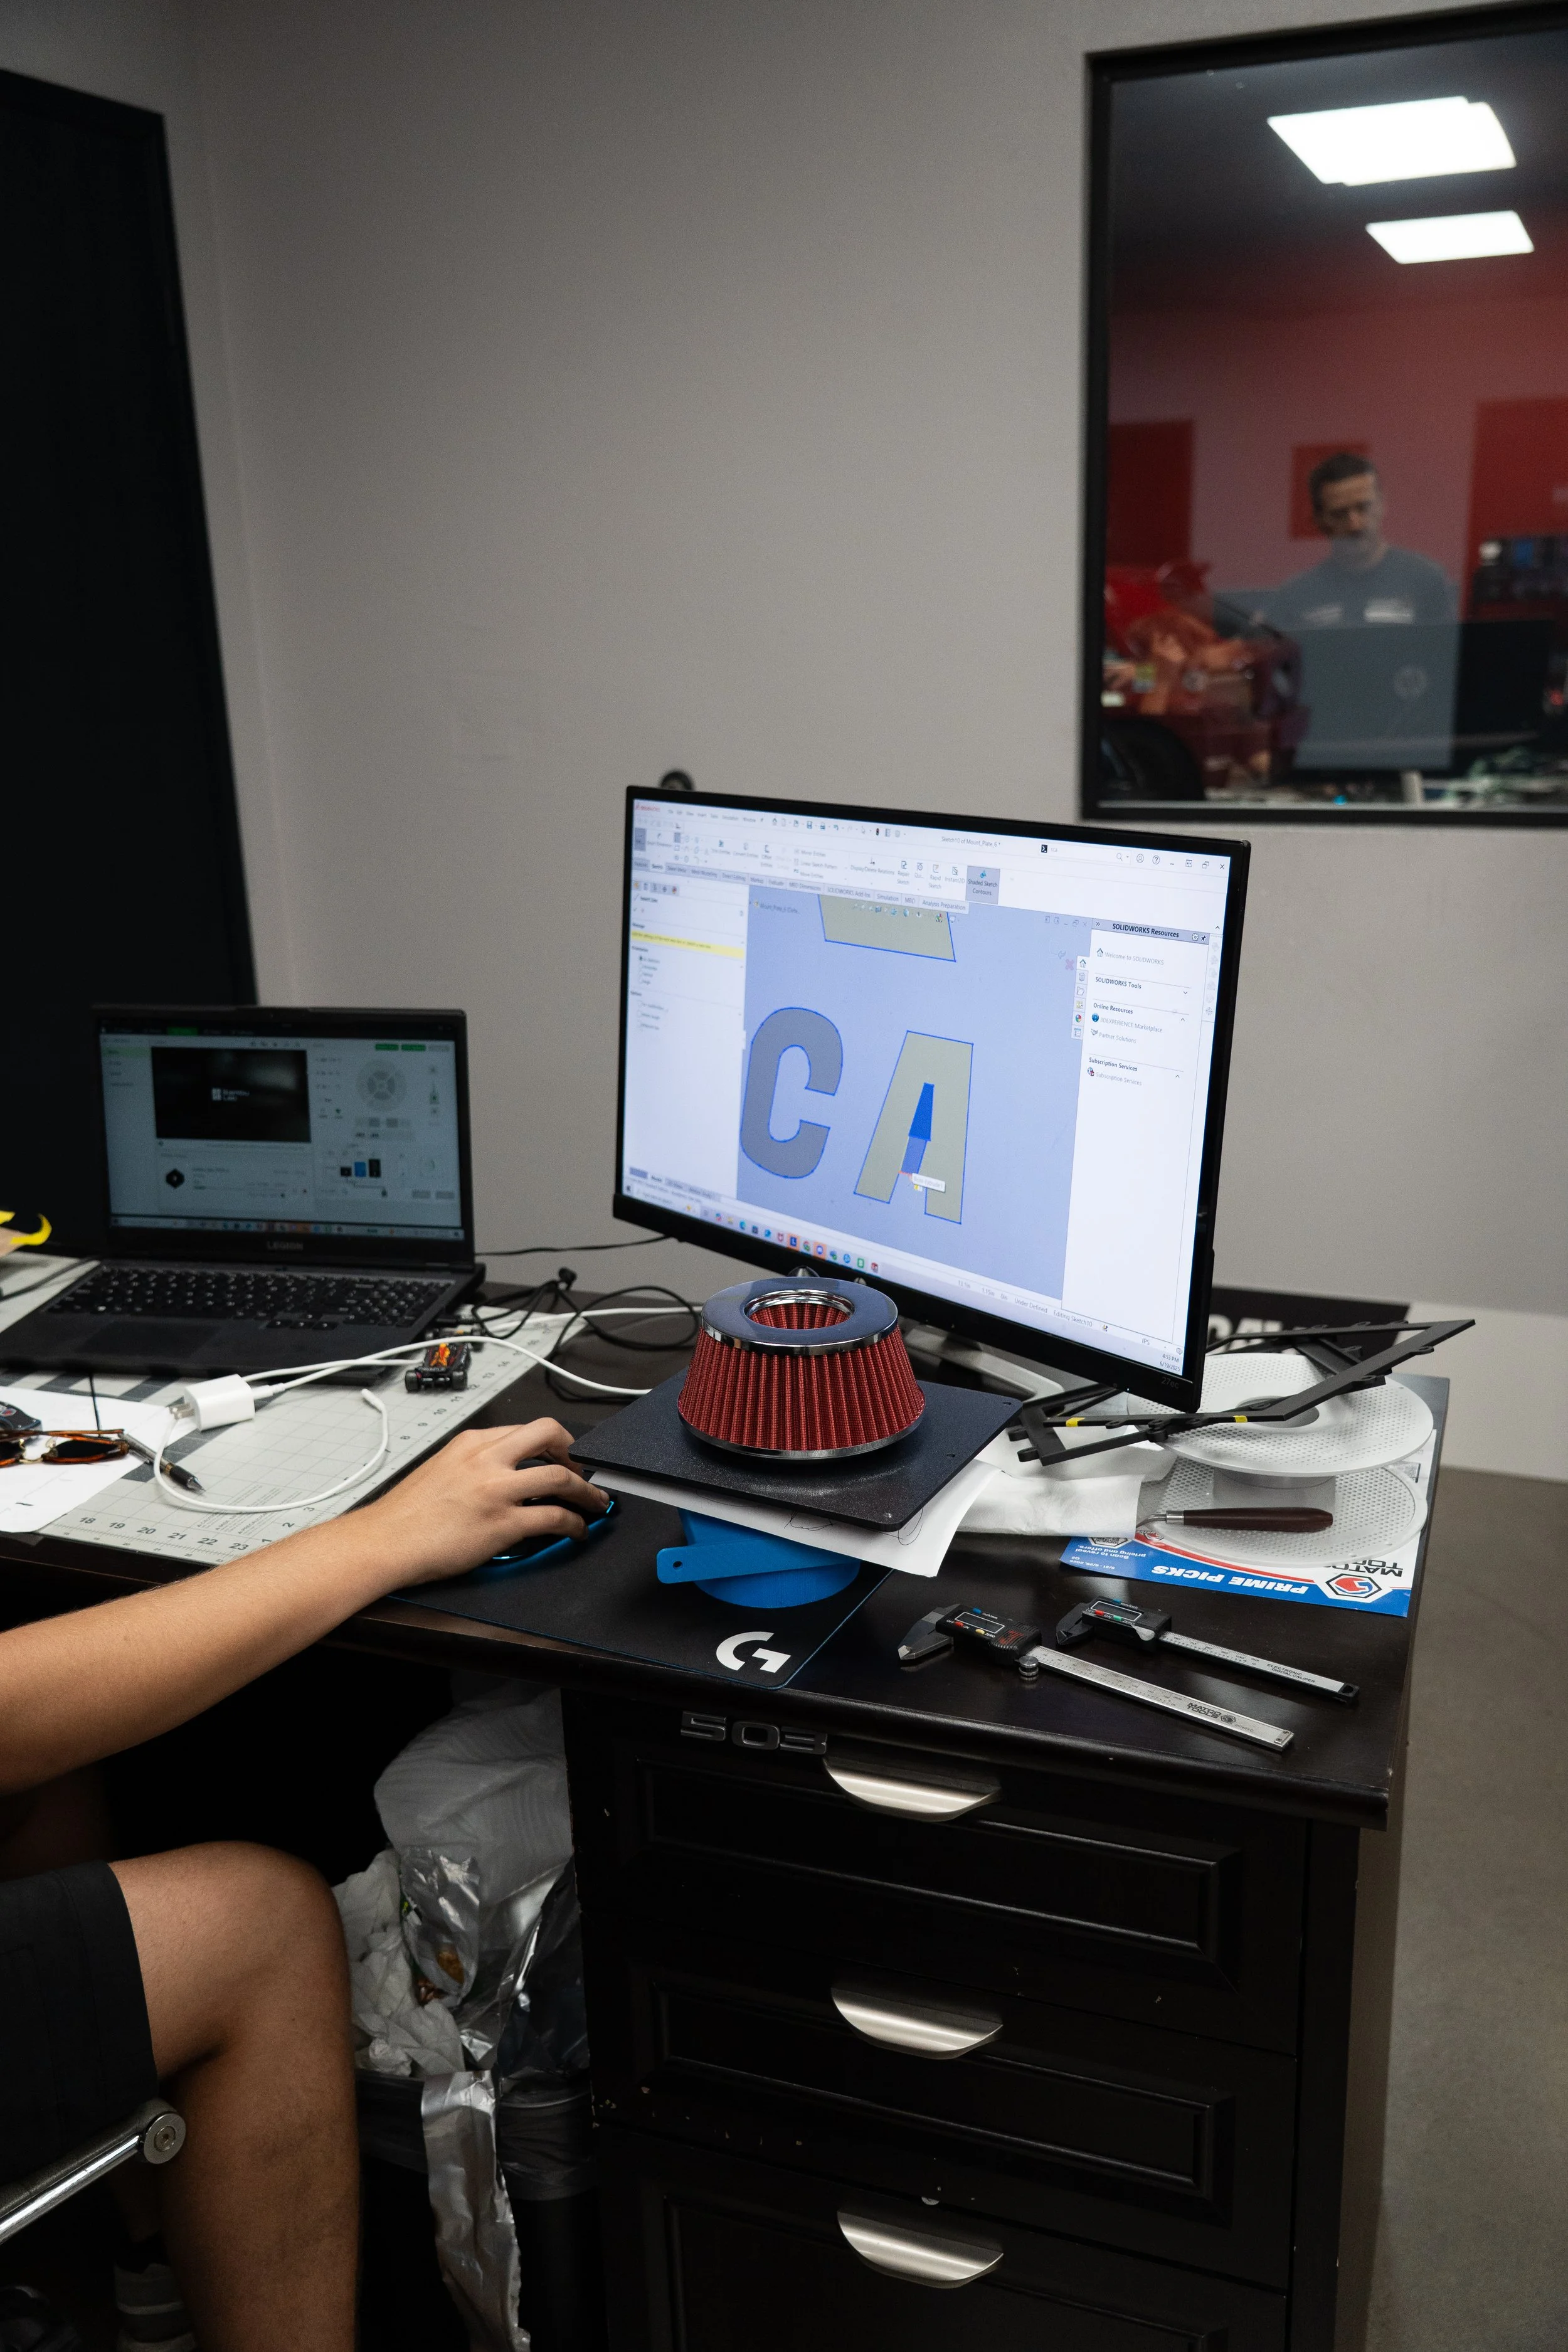
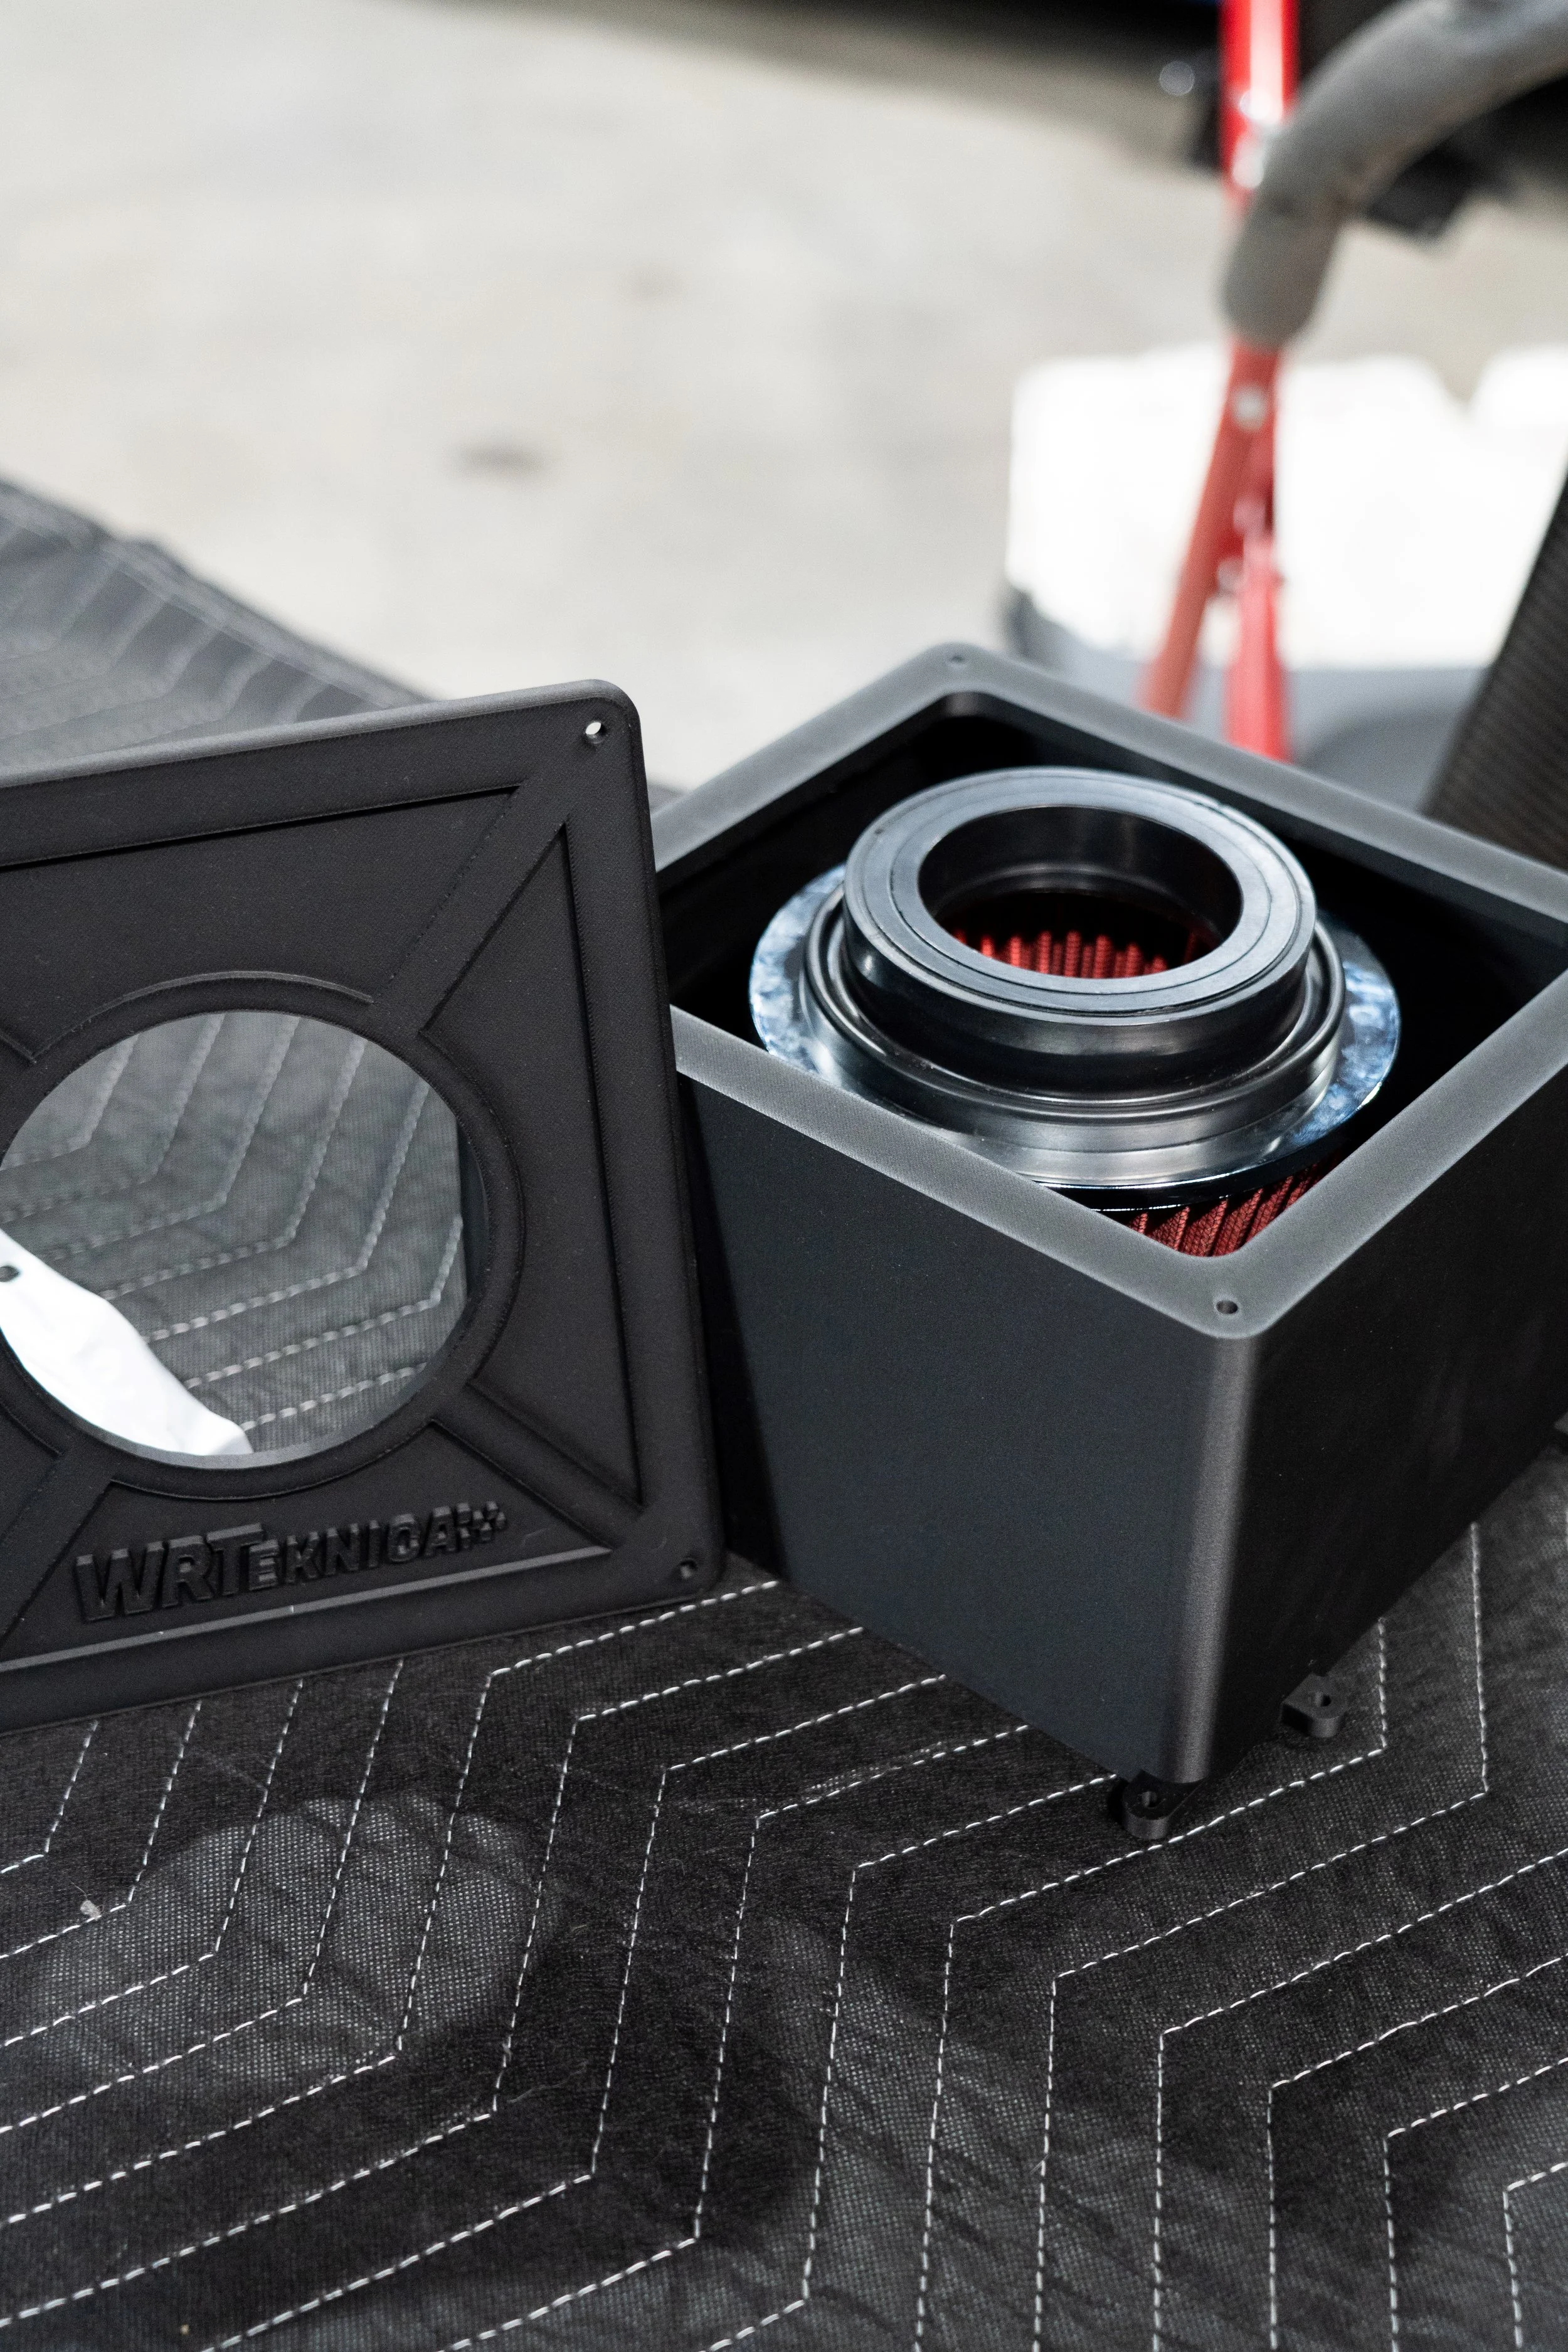
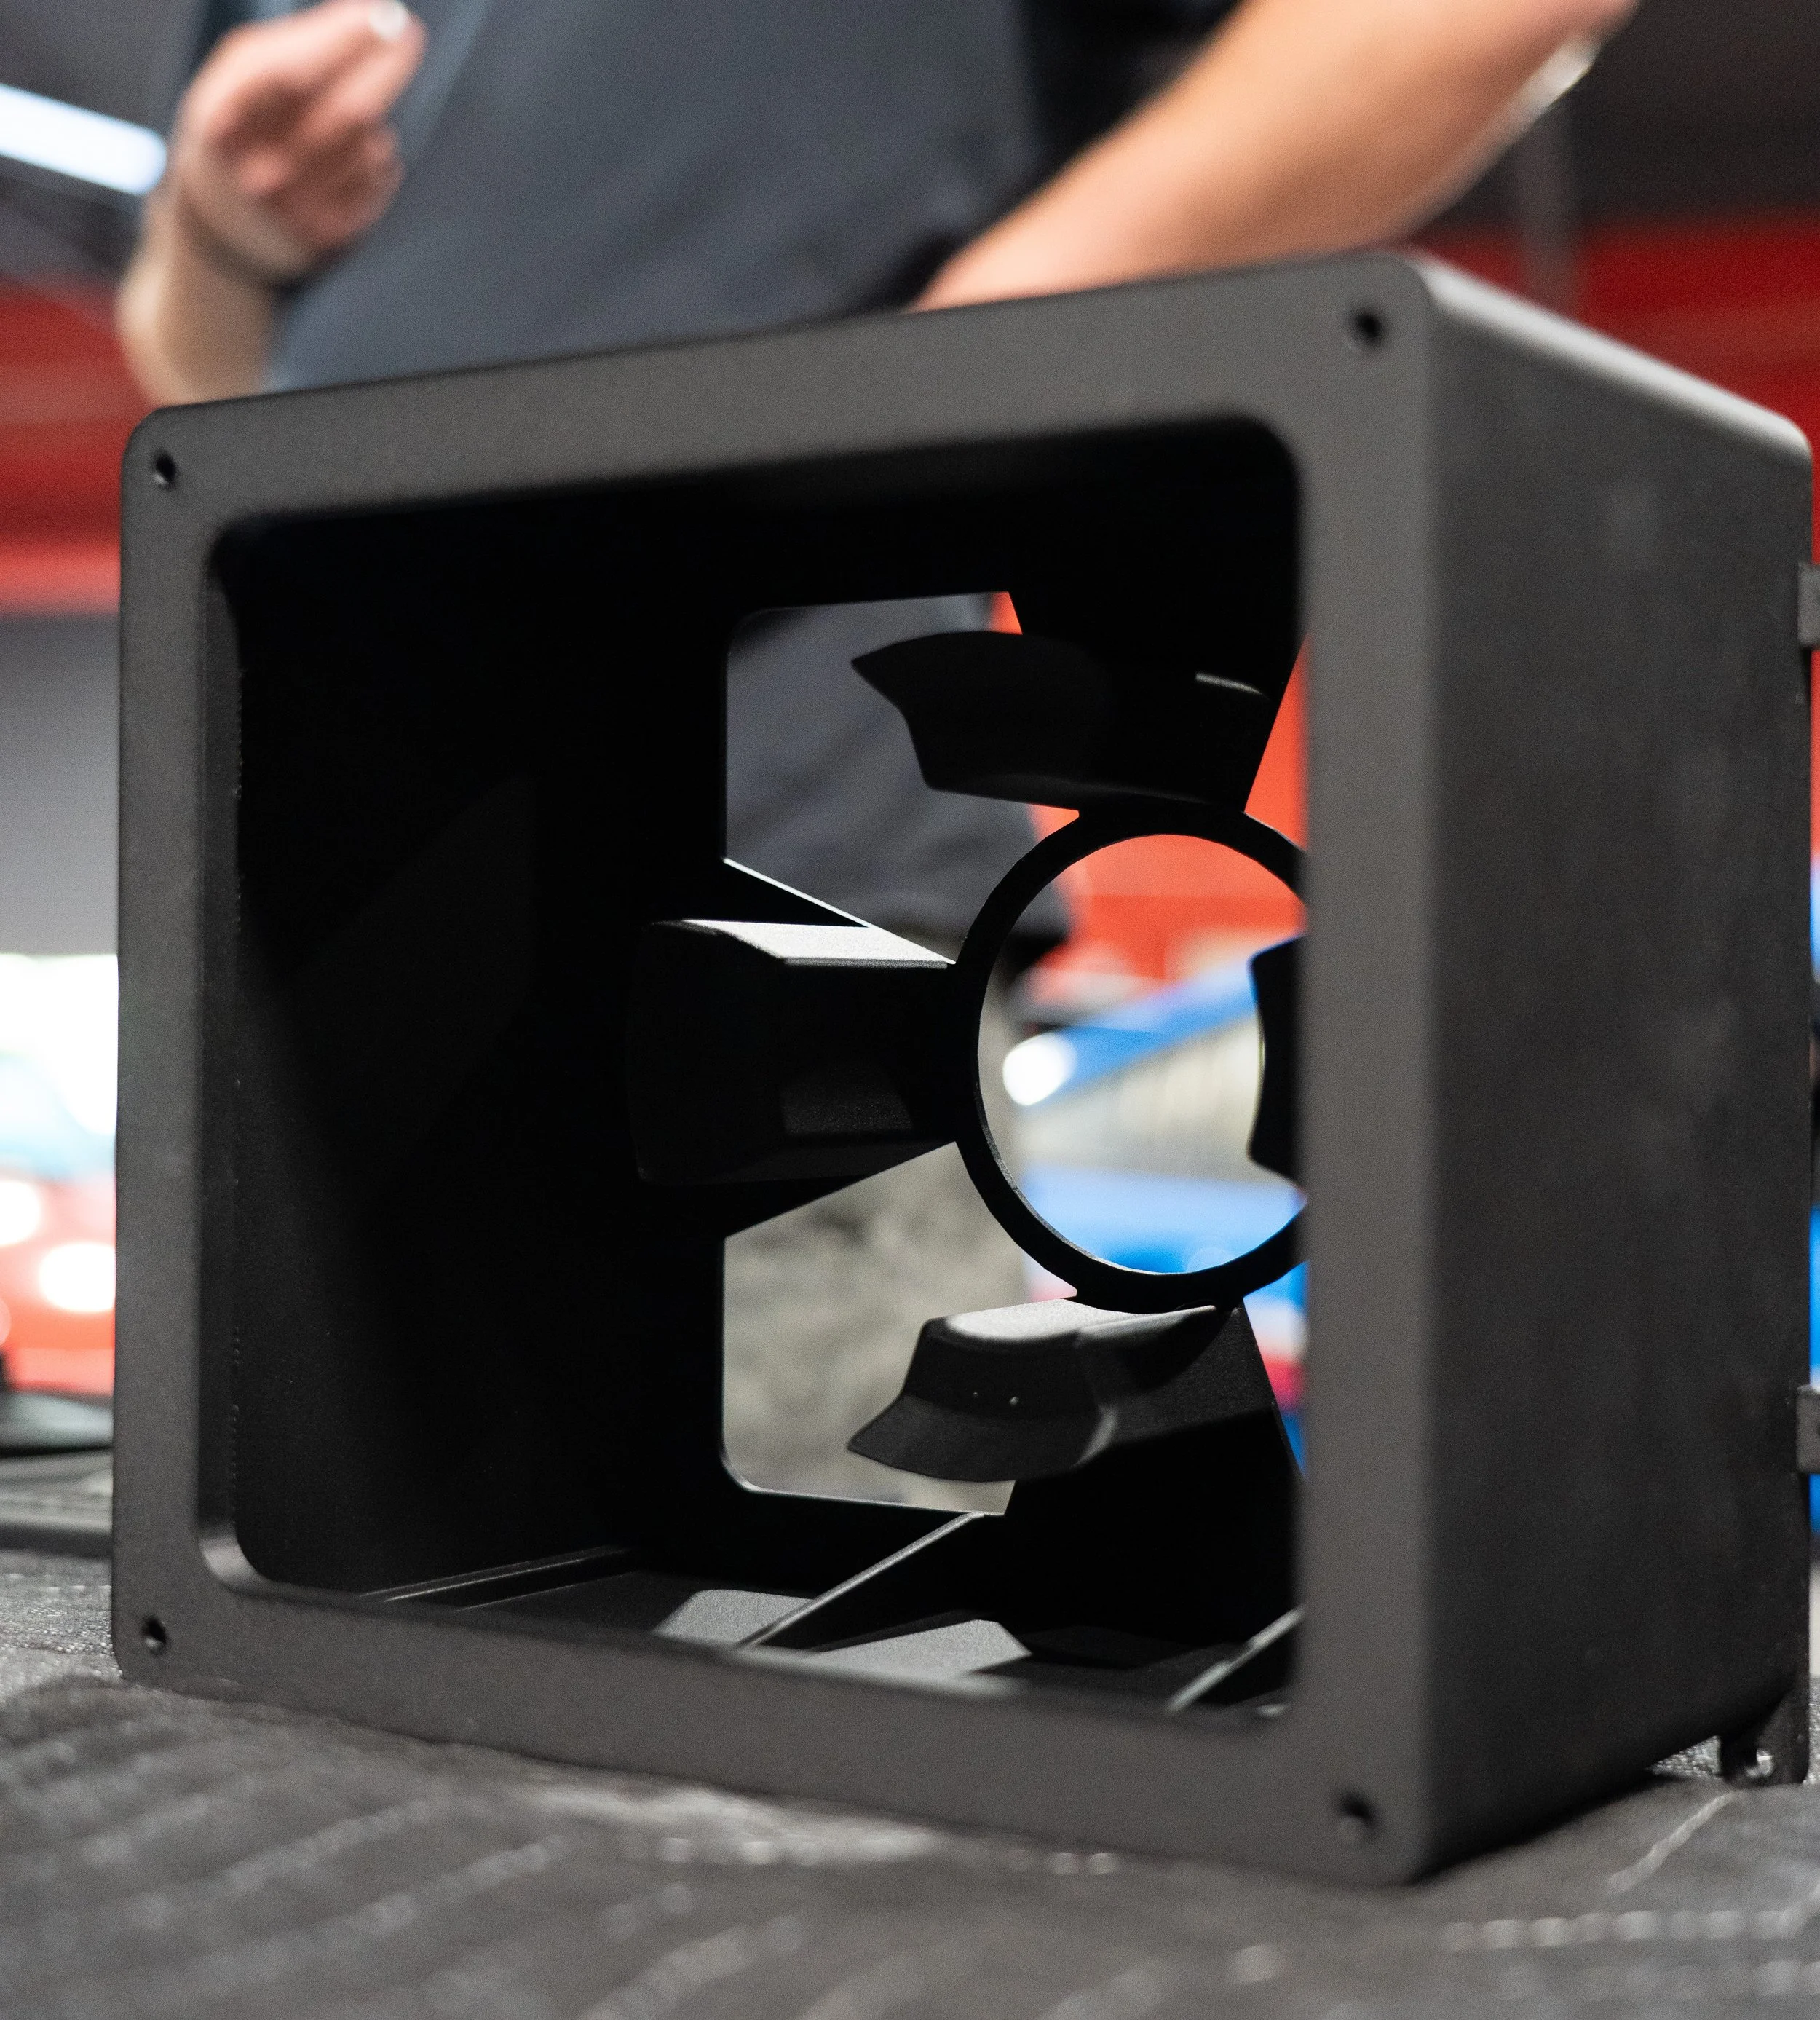
The prototyping phase always involves a ton of 3dprinting and producing variations of prototype parts. Fitting them with other parts as they will fit on the car, making aesthetic changes as they appear with fitment, making functional changes as they come up in testing, etc. Anyway, using lots of tape, cardboard, measurements, and drafting, we were able to turn what you see in this phase into the final product images you see later on down in the page. During this phase, since there were so many components we had to design independently, we discovered a lot about the fitment while actually installing the parts in the frunk and with one another. Some of these parts have over 15 variations saved in my computer, just iterating, fitting, and making adjustments based on other components changing. This is part of what makes the engineering process interesting, but also a headache.
Design
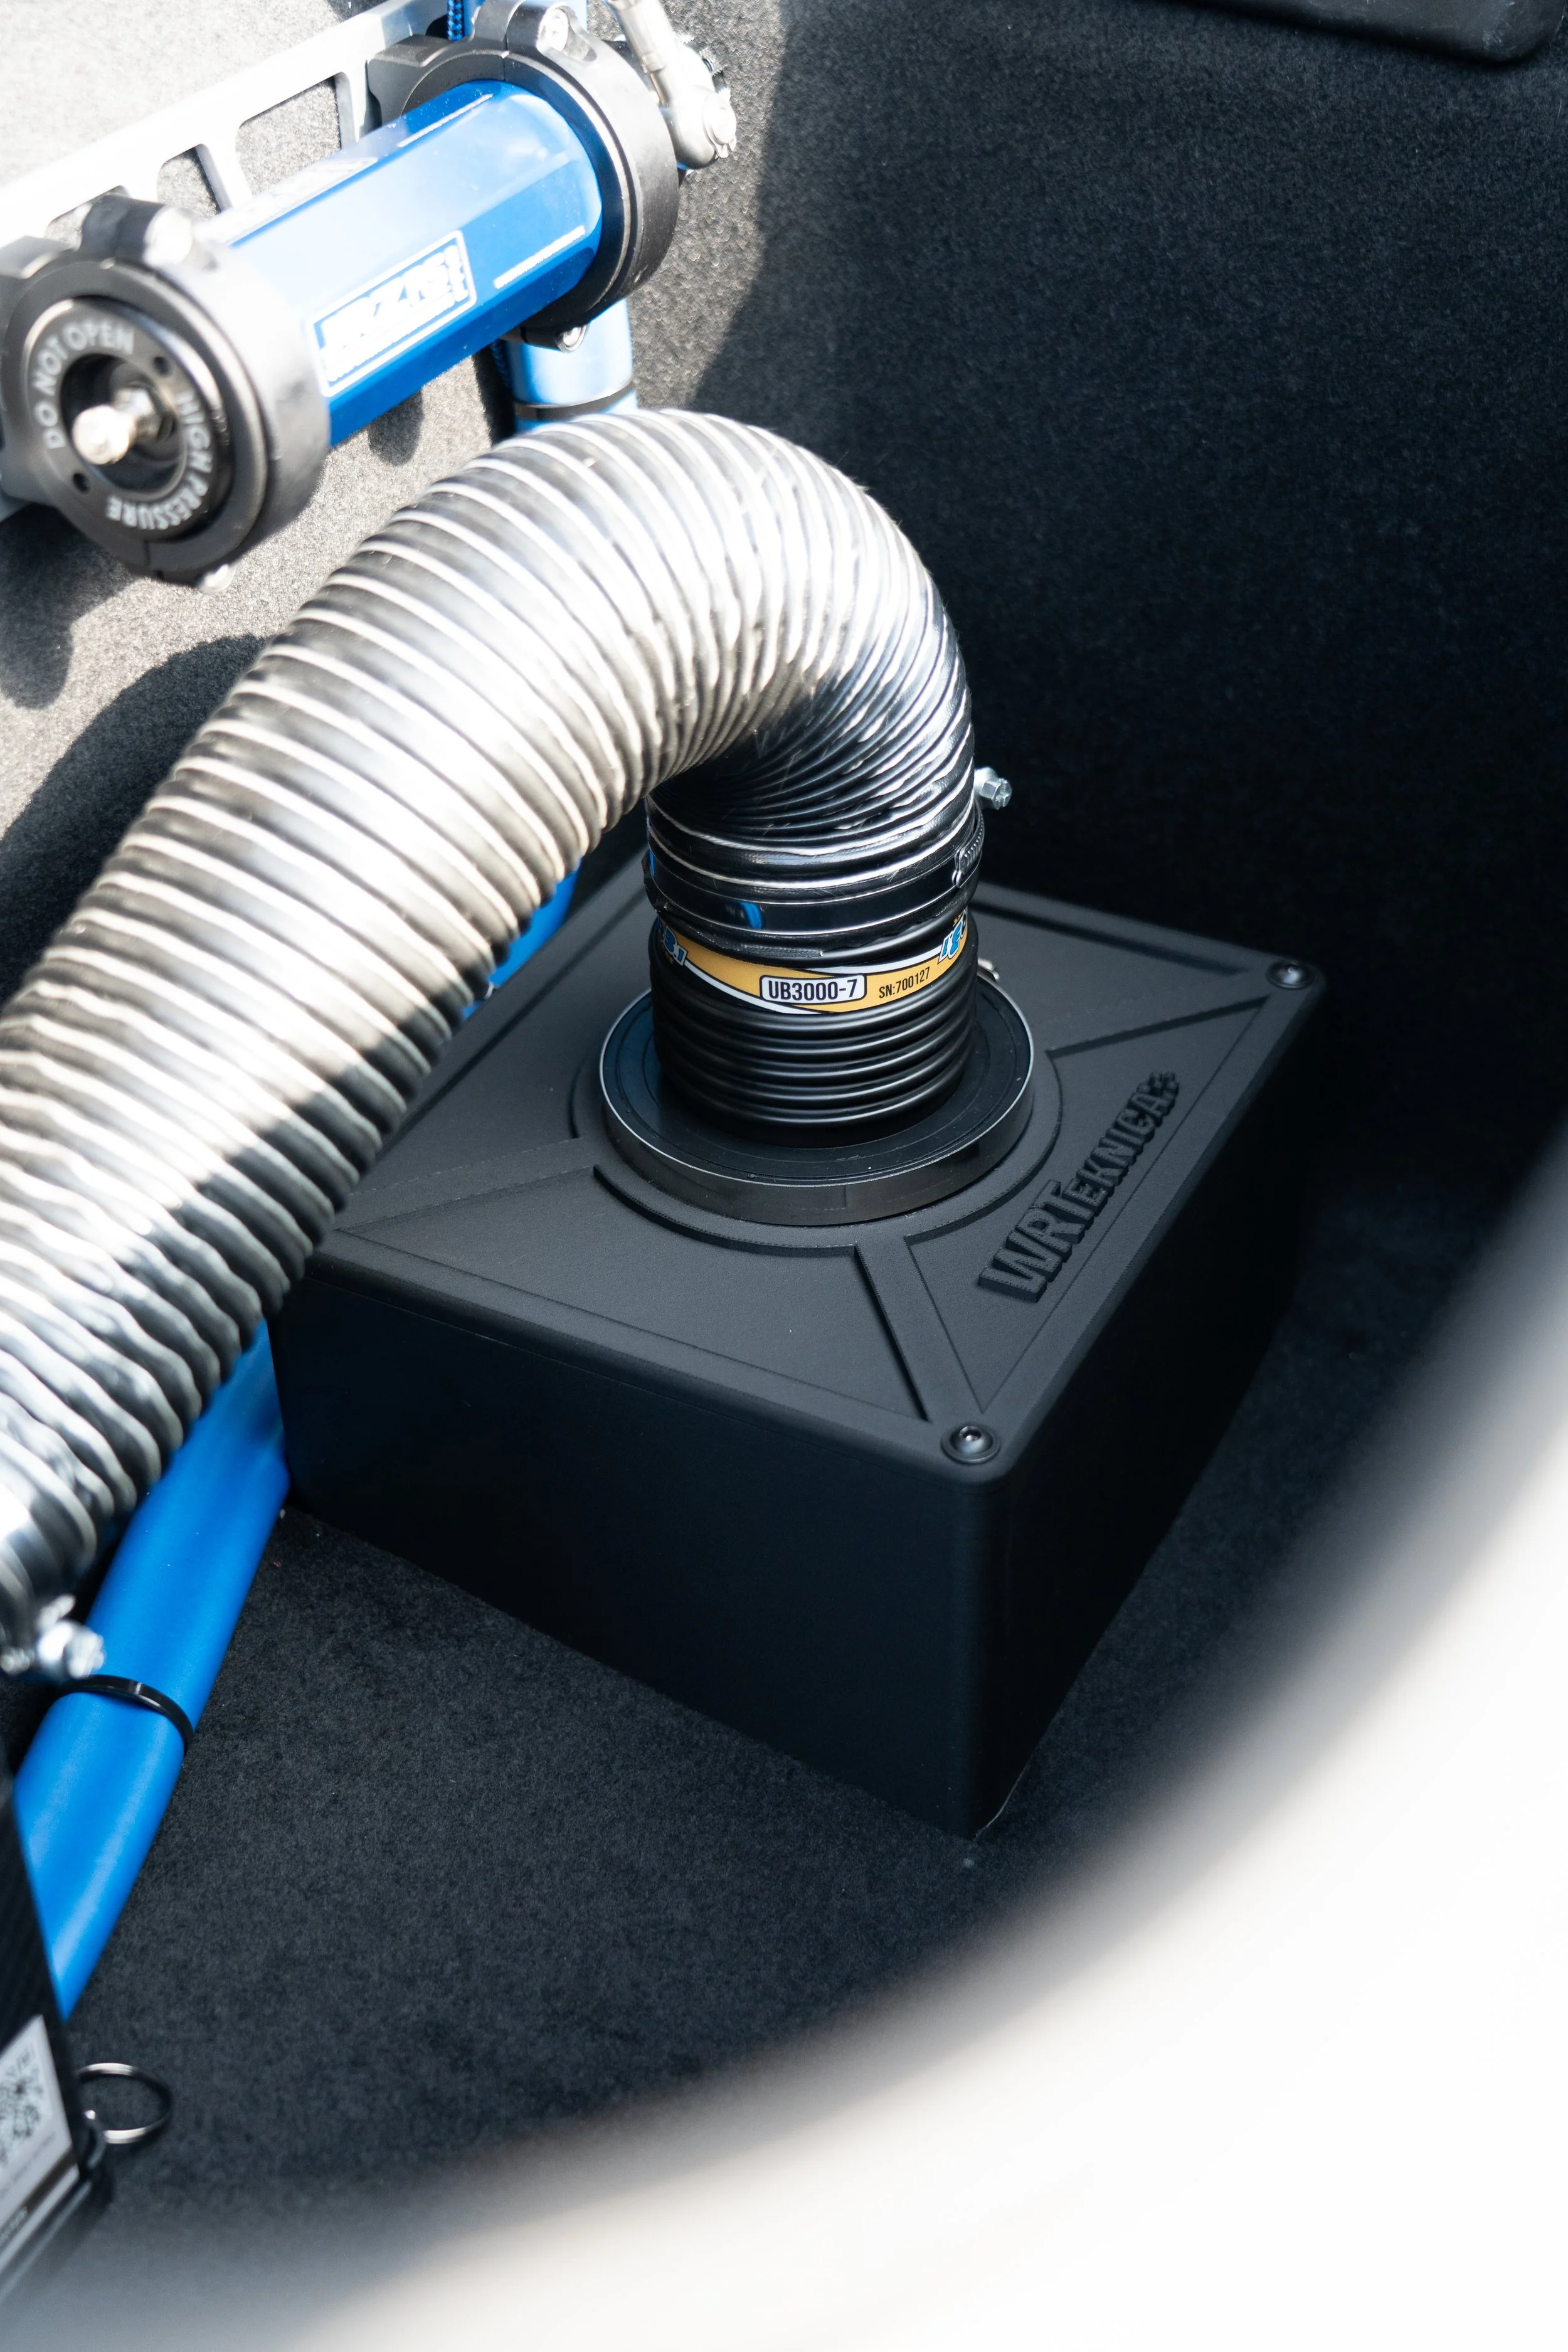
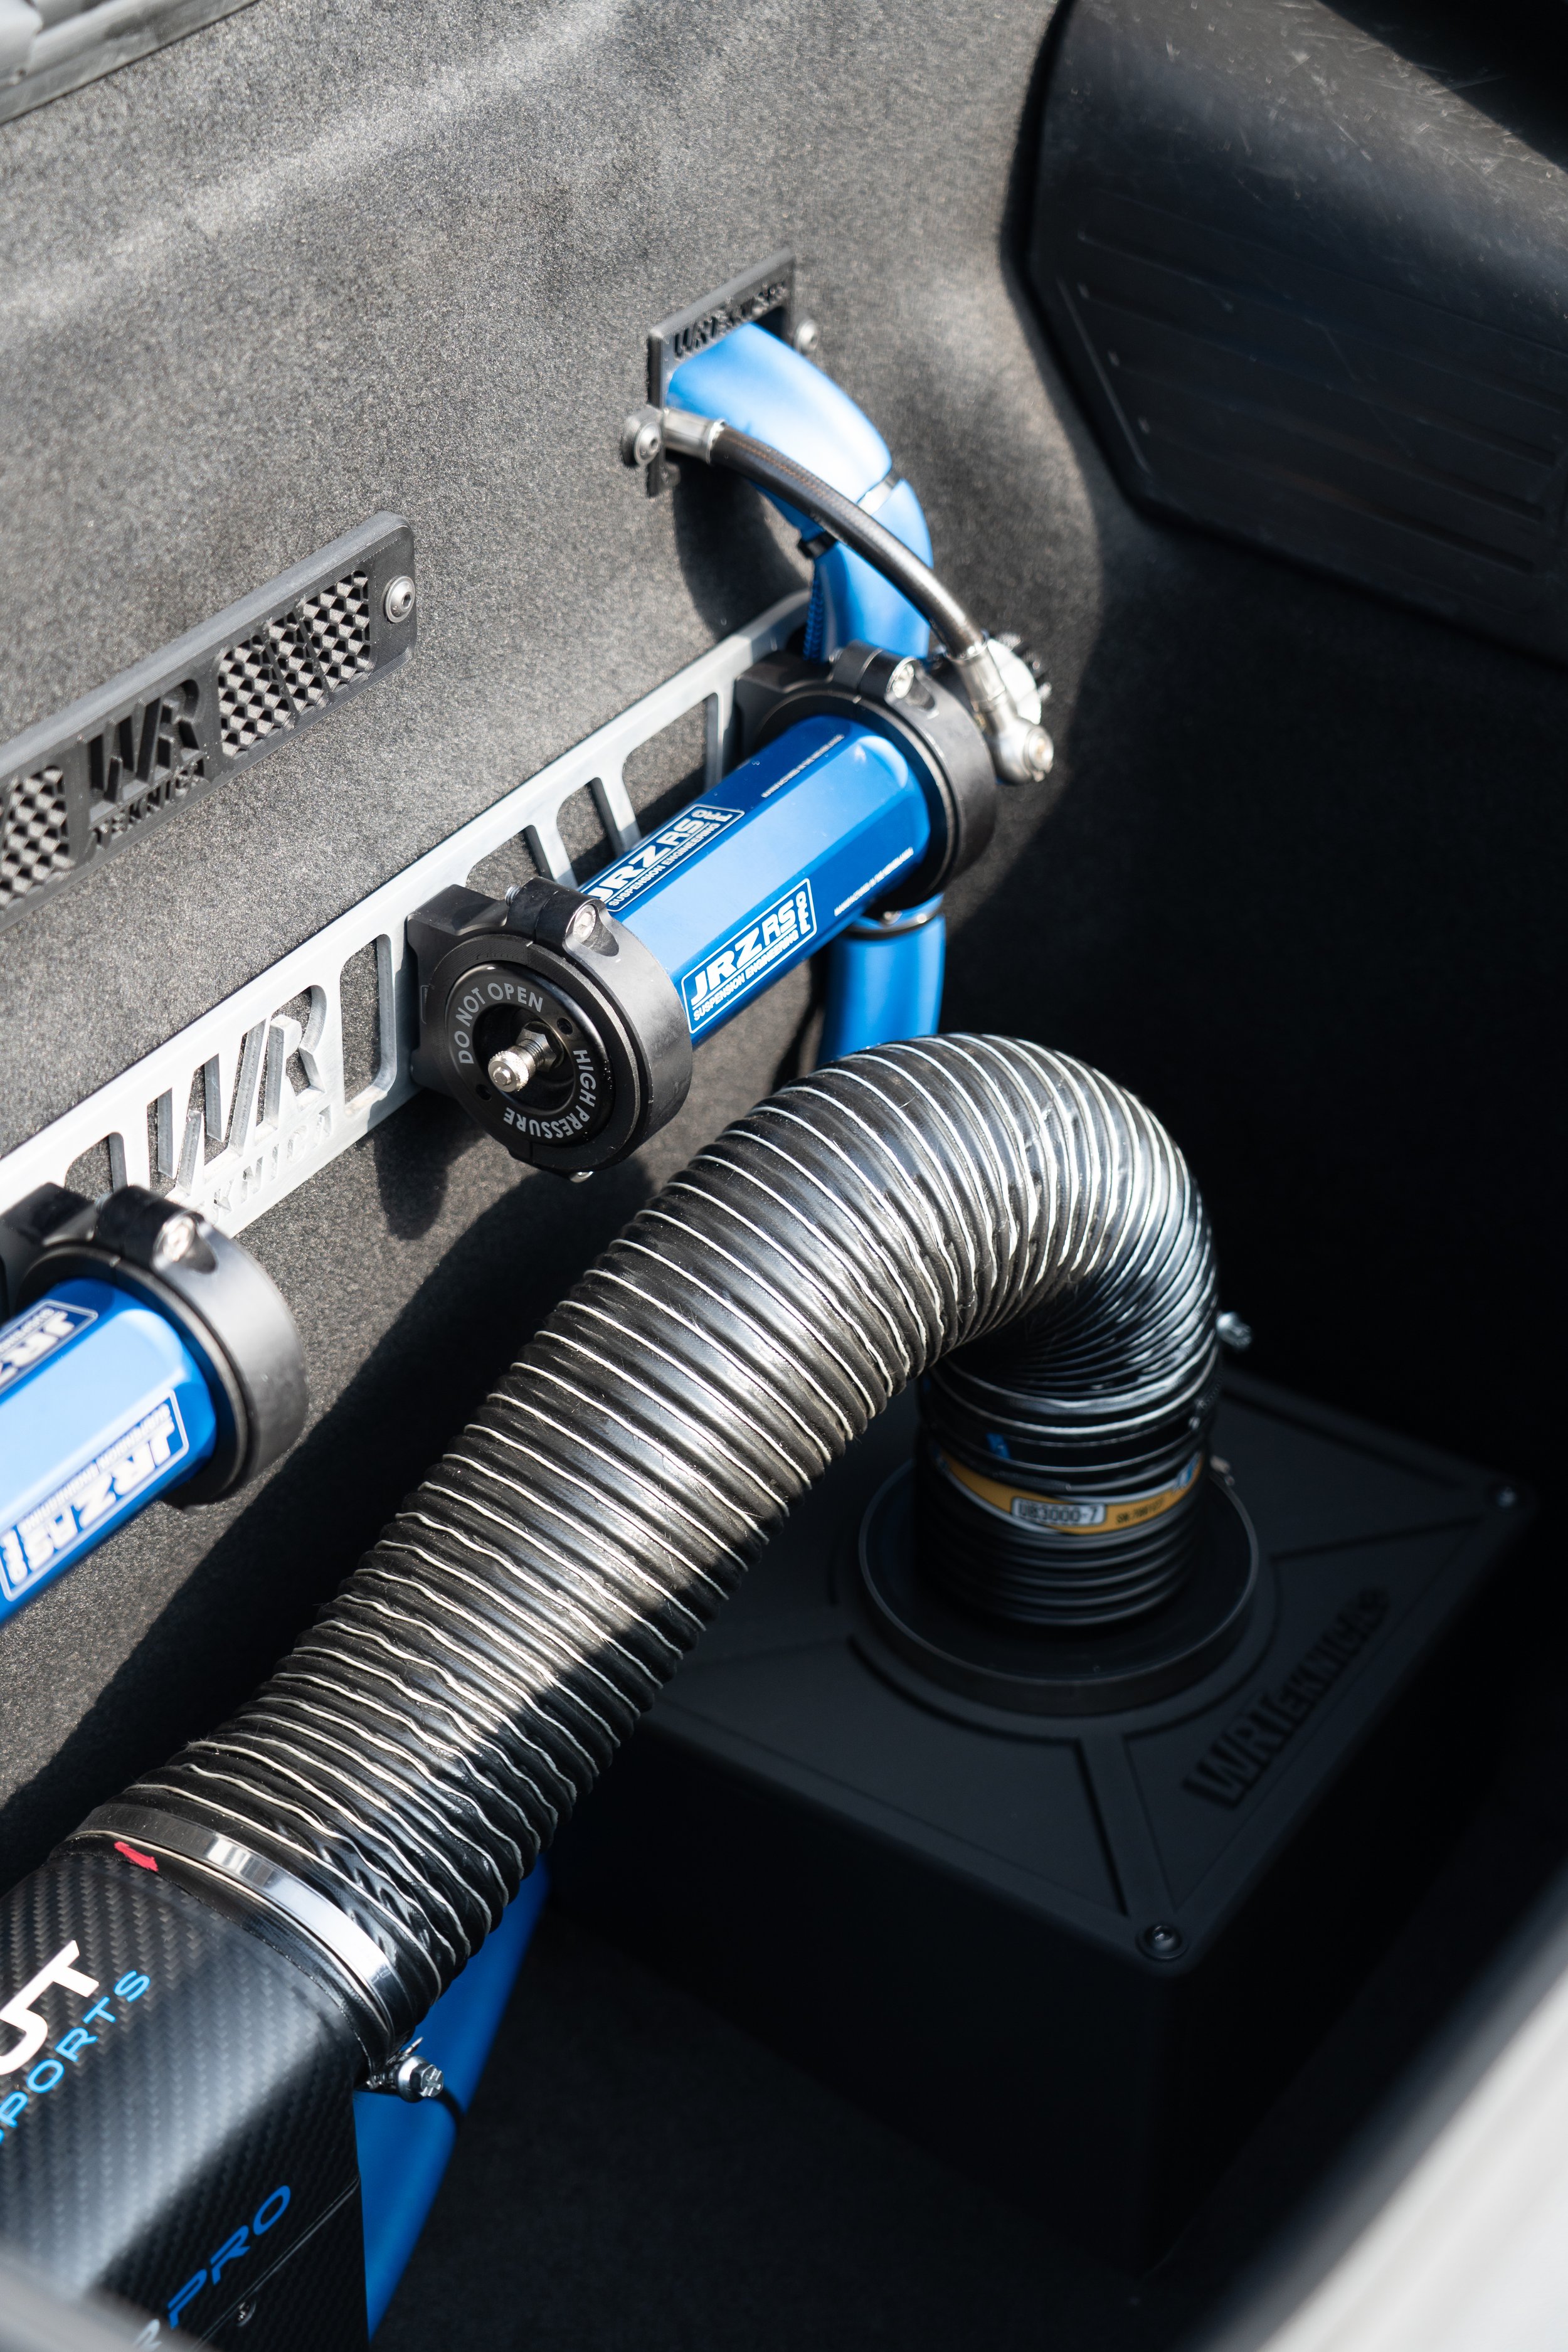
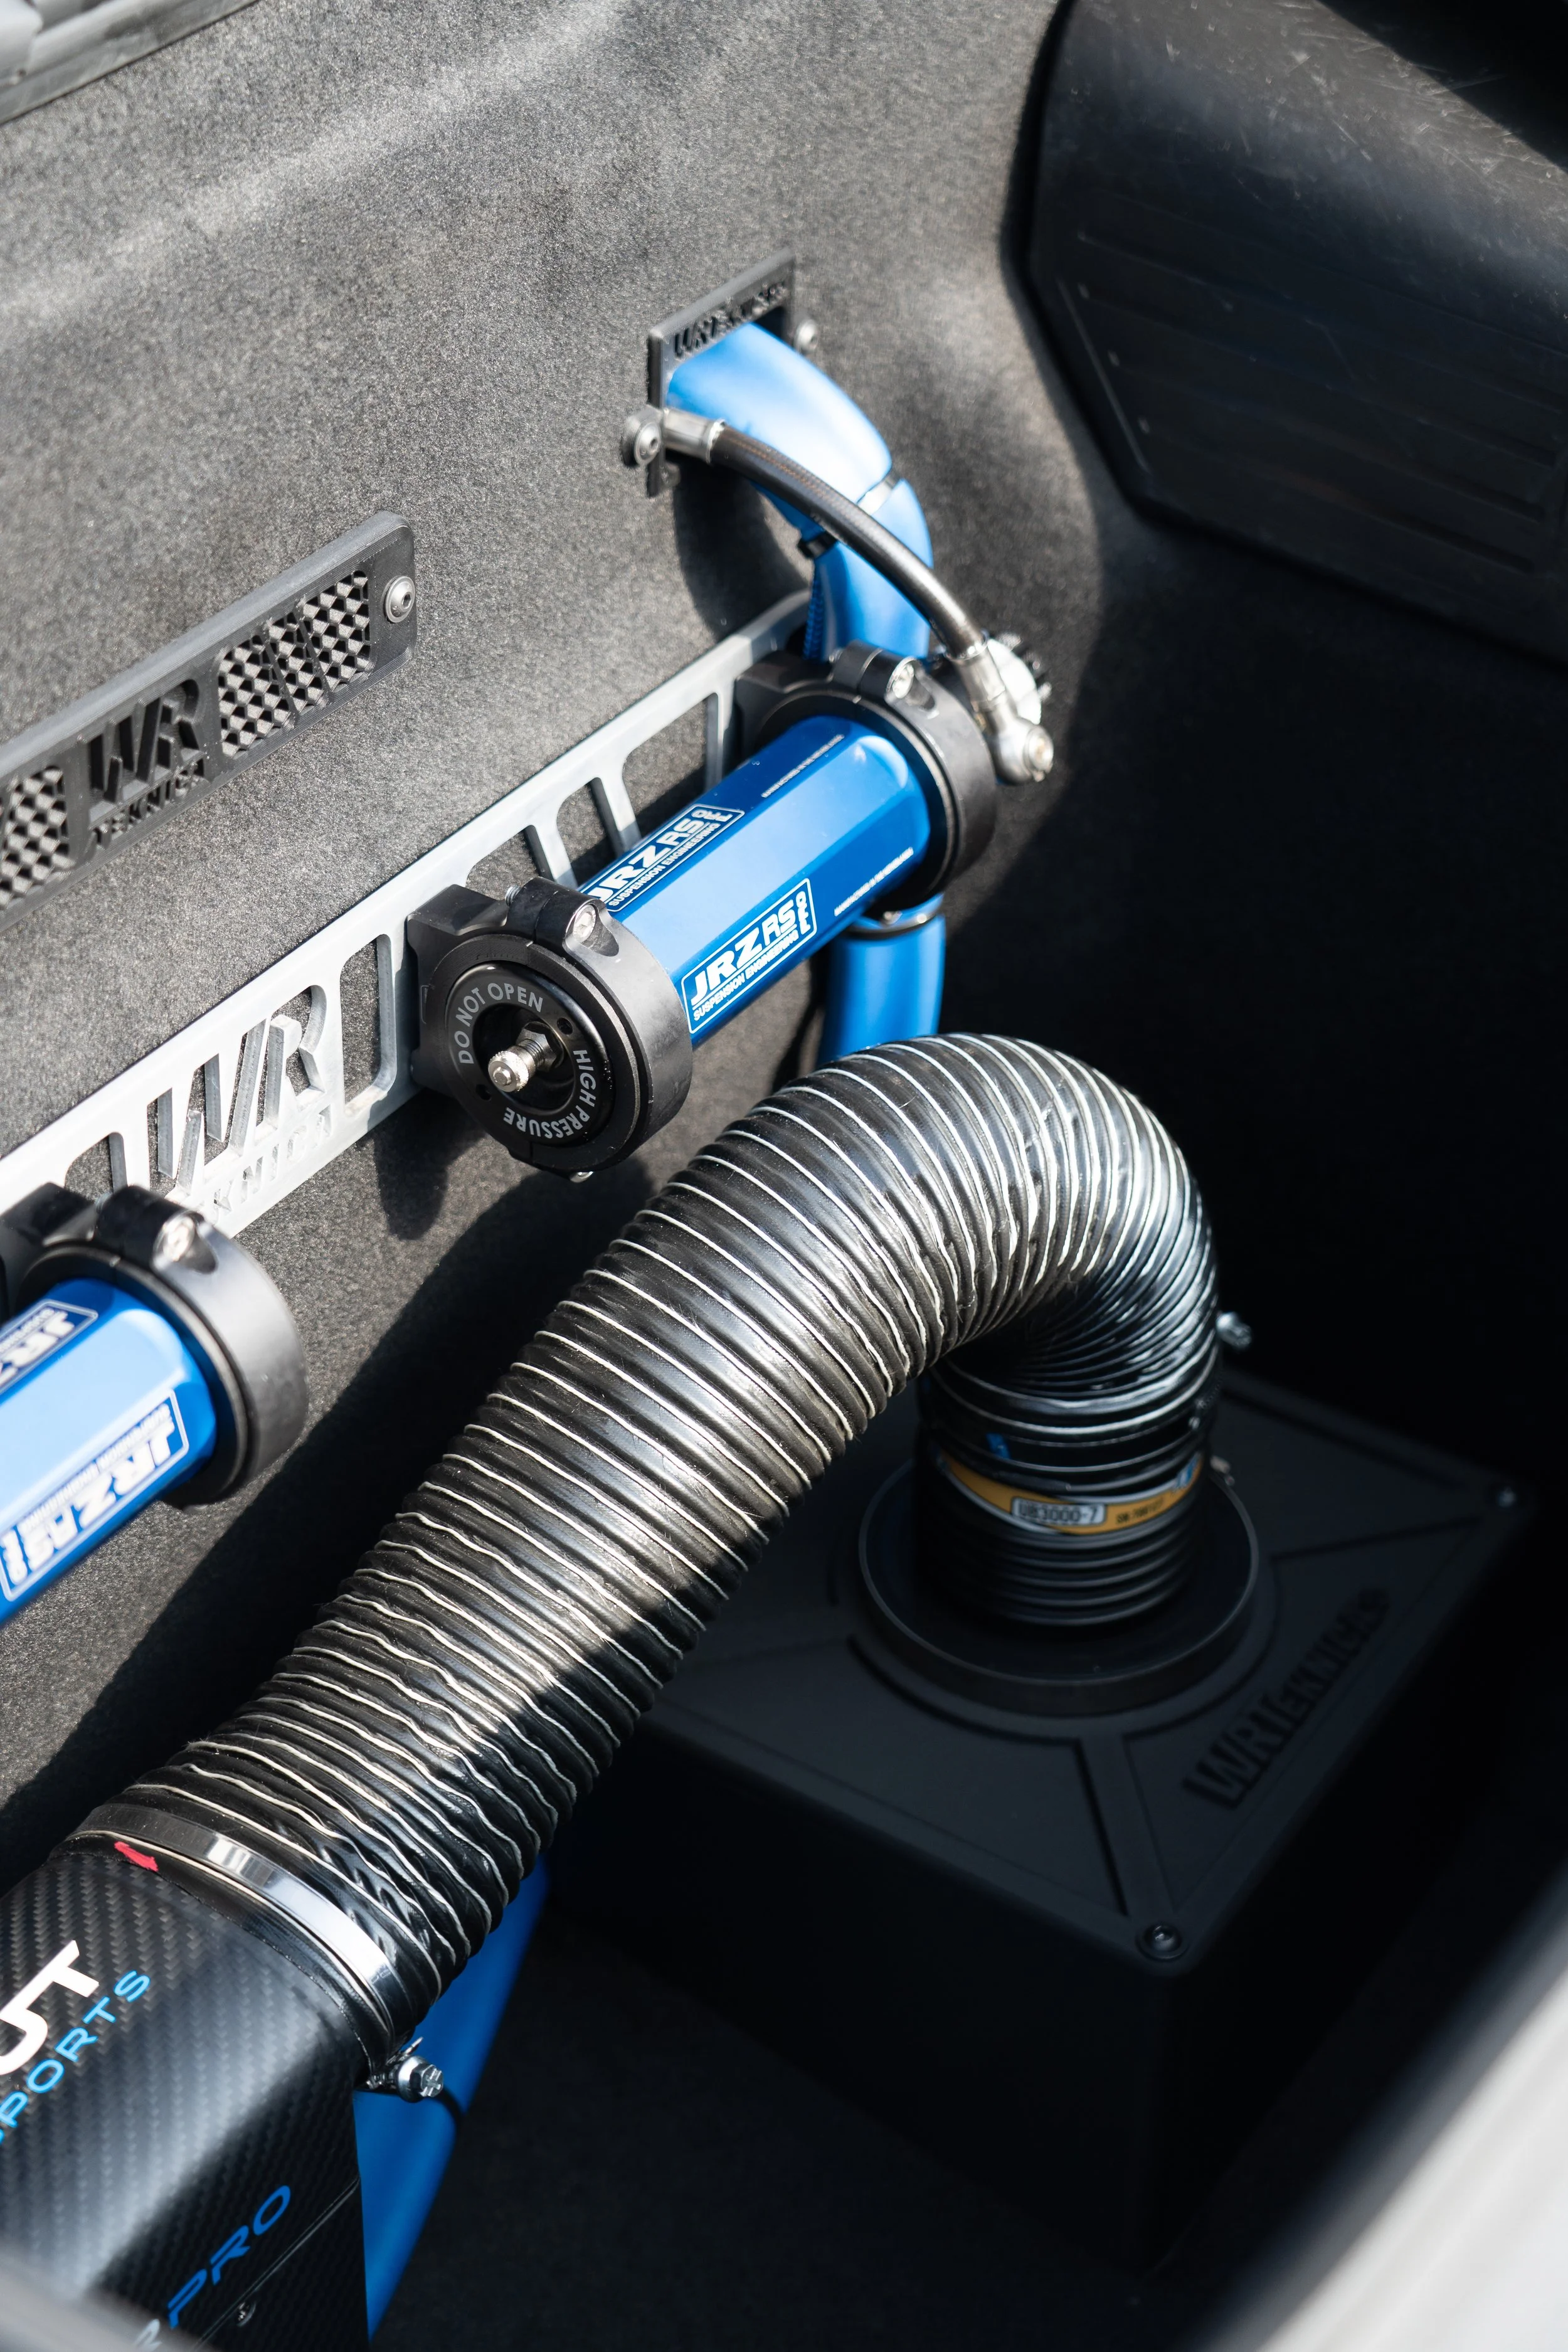
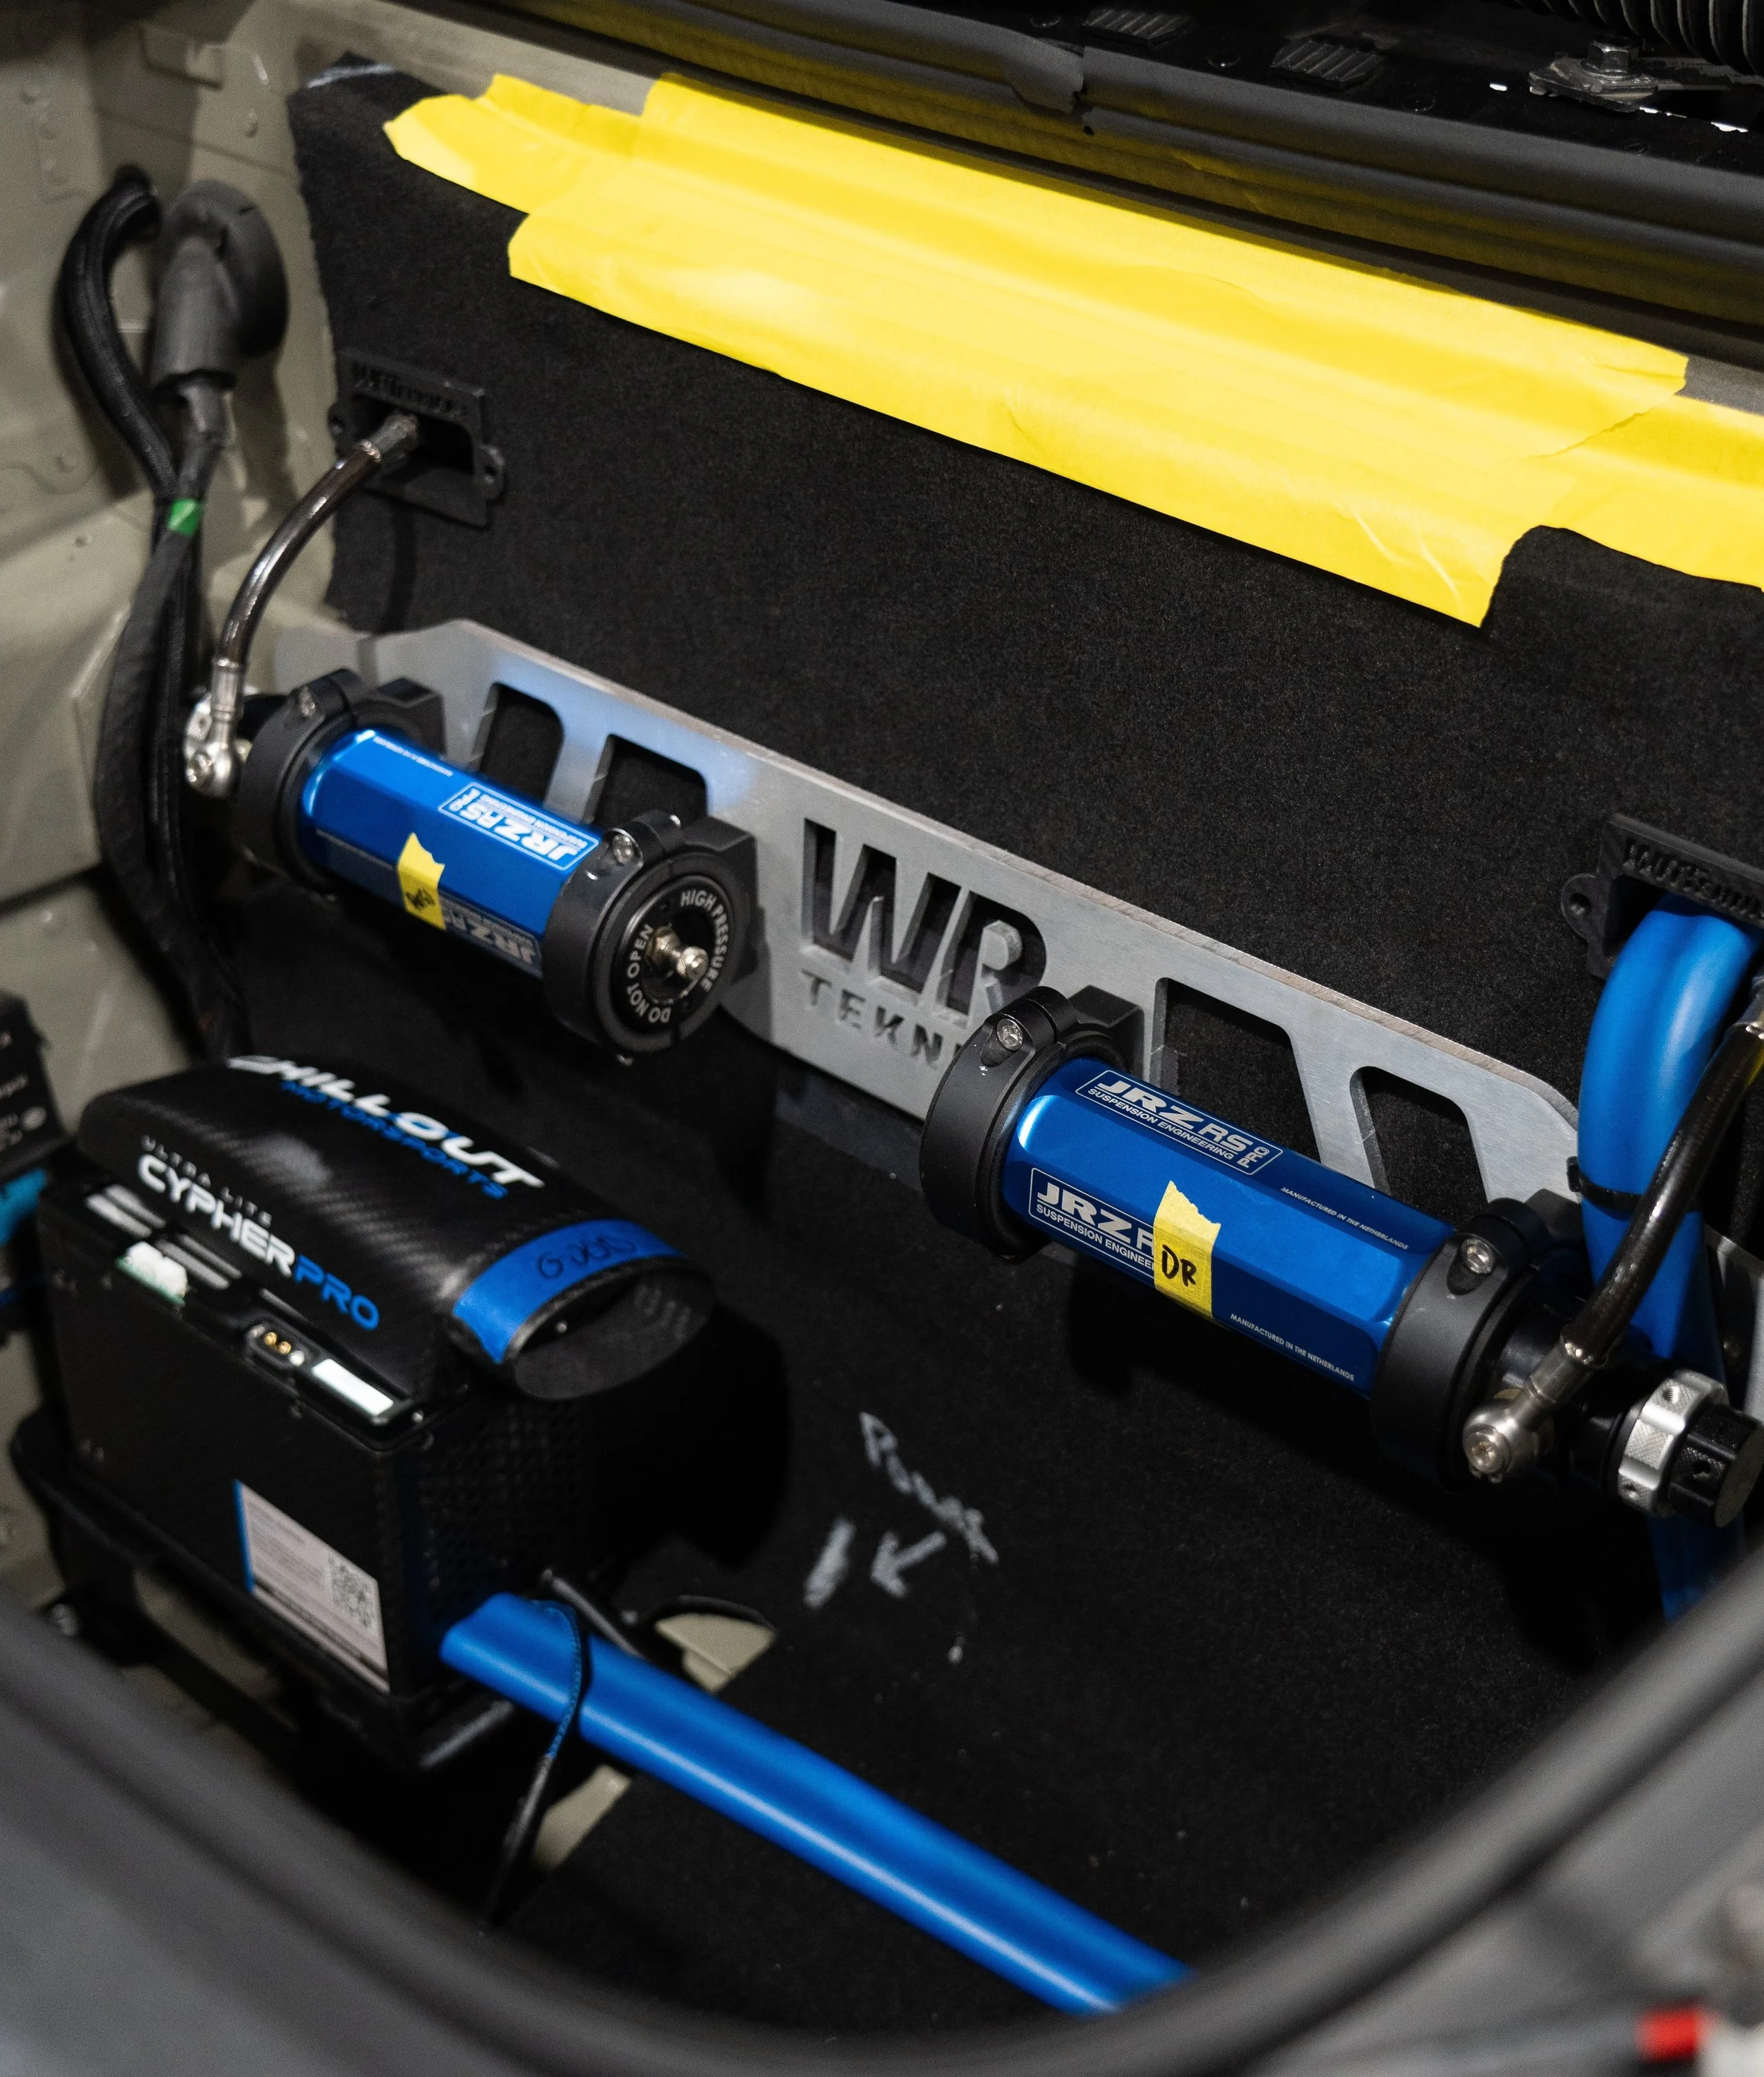
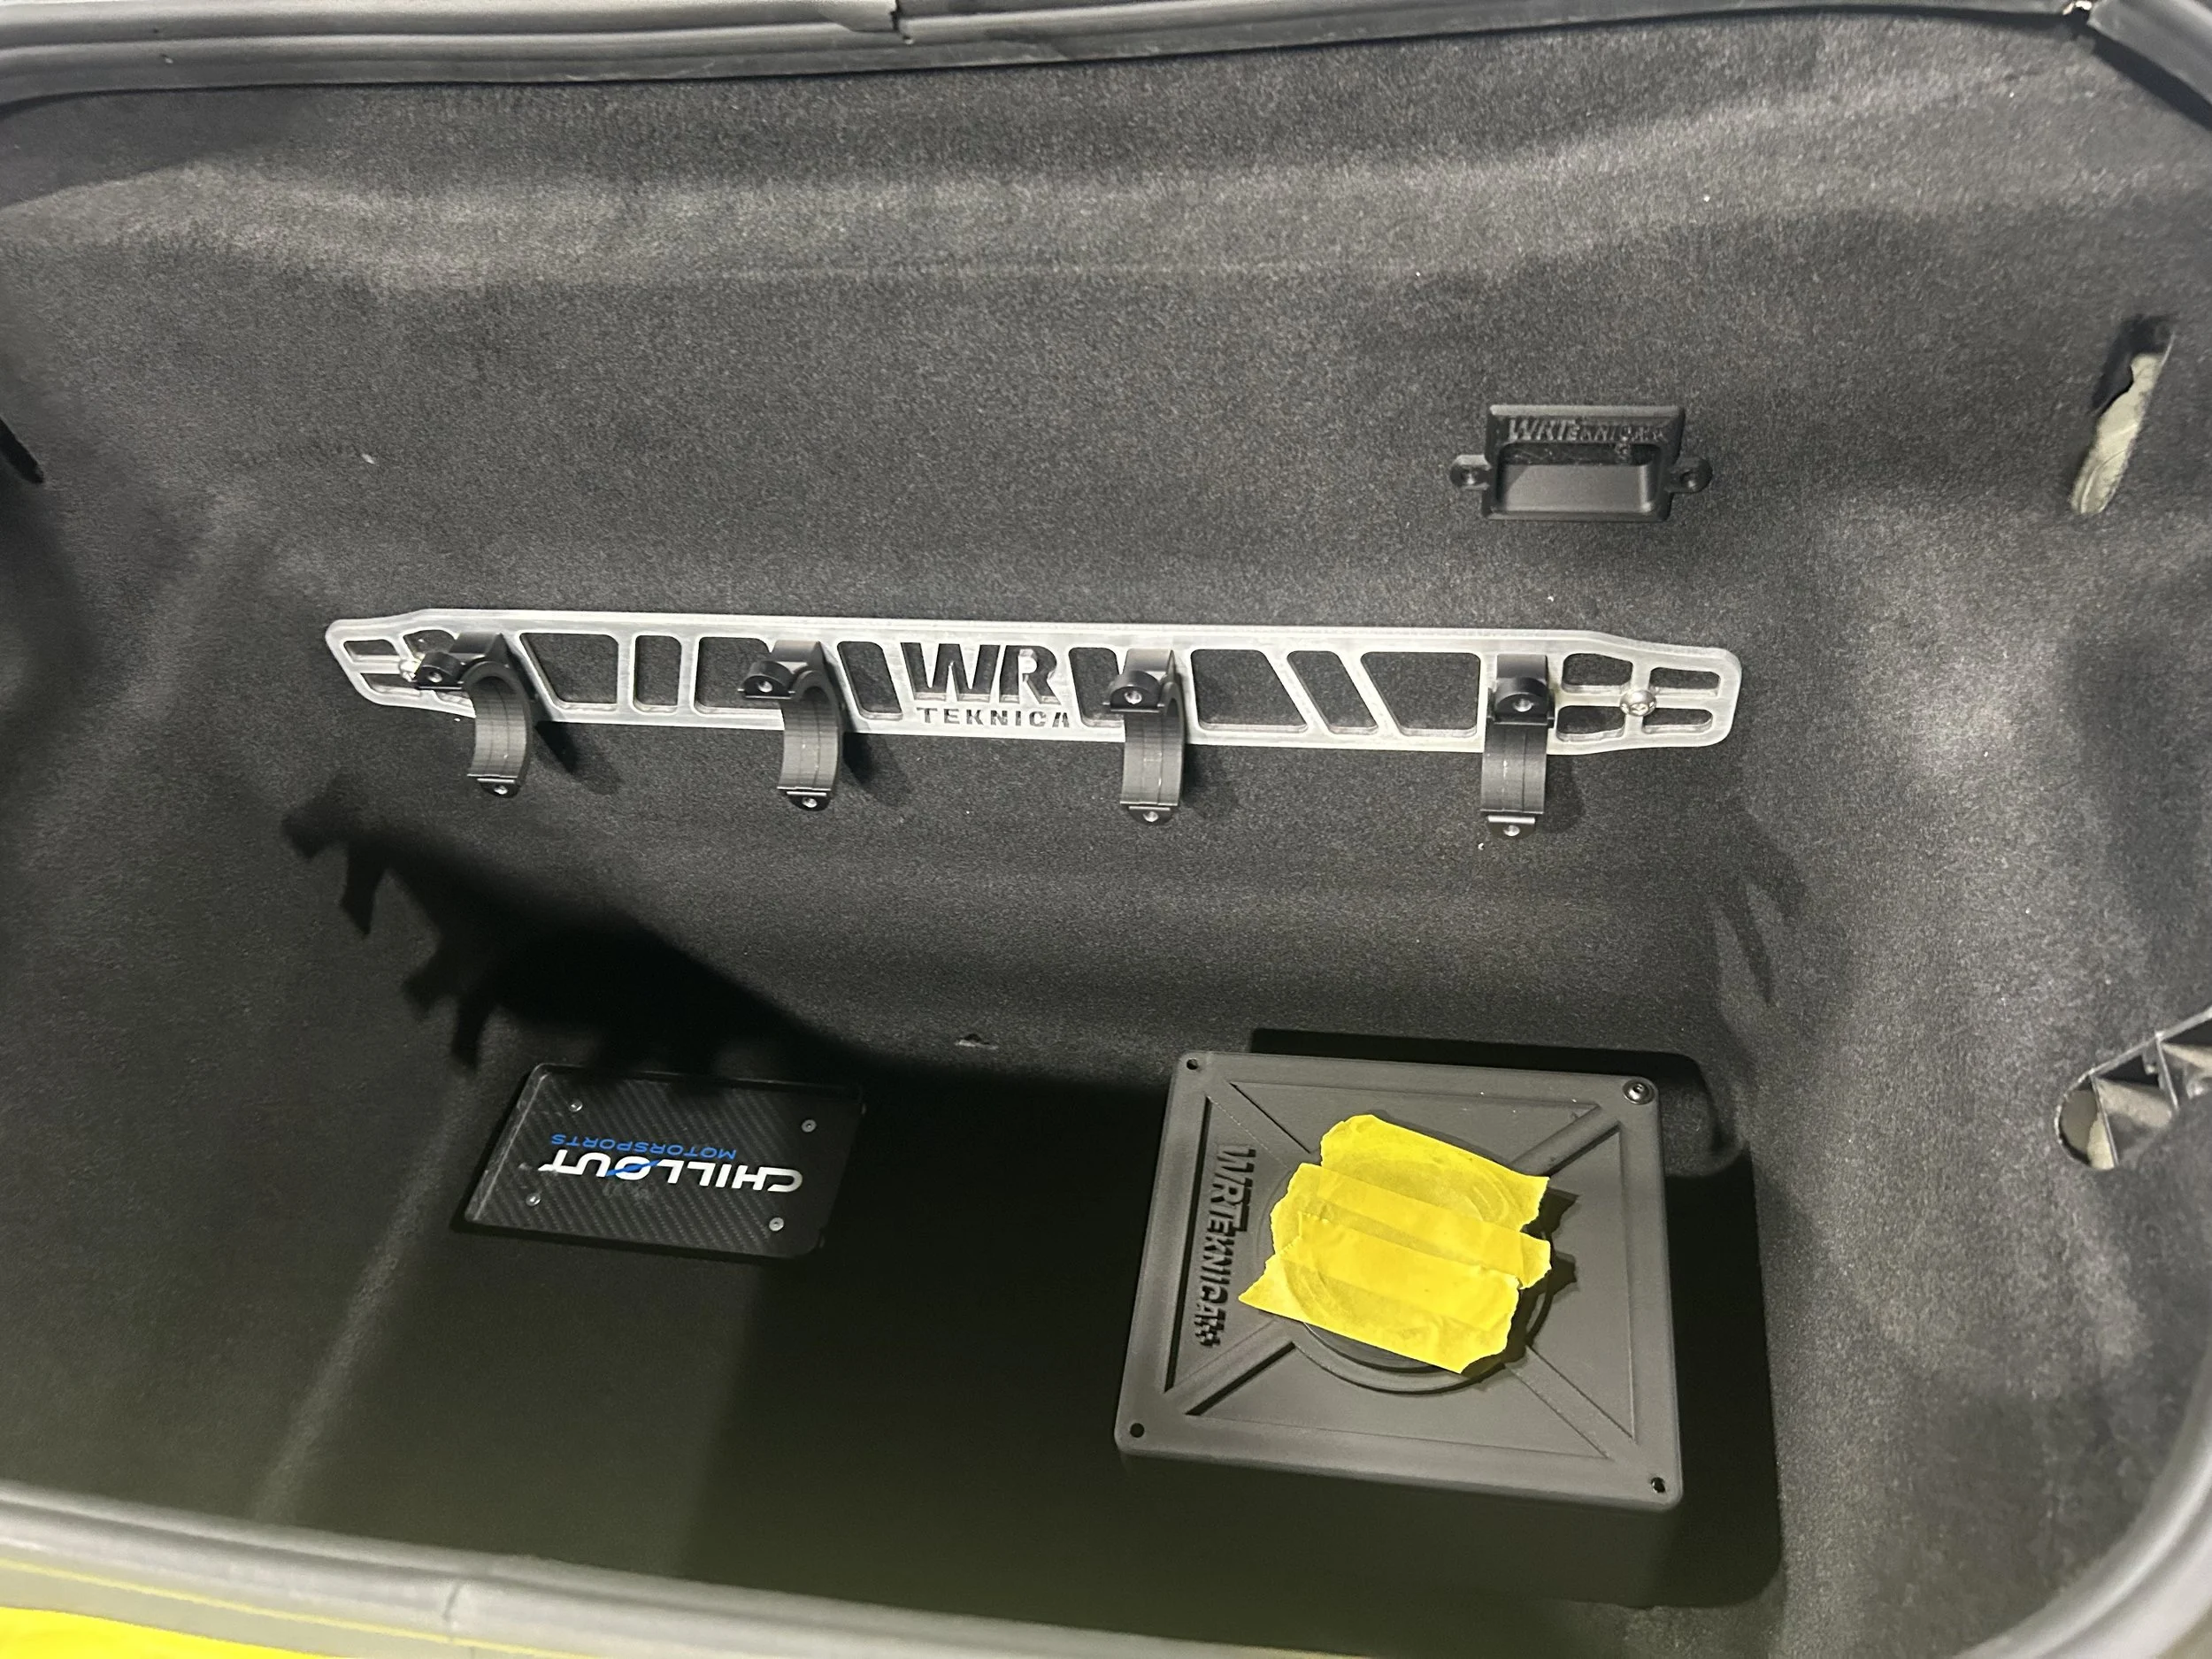
In the design stage, a lot of attention is spent on matching the fitment to the surrounding OEM pieces, ensuring a seamless install and integration. Almost everything is measured, noted down, and taken into account. During the design stage, having access to the 3D printer is a massive advantage, as it is able to print small components quickly to verify fitment and partial function. For this particular build, filtering air coming through the bottom of the system was a large concern. We needed a fan that would pull hard enough to generate enough air for the Chillout system, and a filter that not only sufficiently “filtered”, but also didn’t restrict our airflow. I, along with Alex Rodriguez, my co-engineer at WRTeknica, designed a box that housed this filter and mounted the fan in a way that allowed maximum airflow. Fully constructed using 3D printing, this masterpiece functioned brilliantly, and after months of track testing, it can be deemed successful. Images shown below
Final Product